bow tie

Happy 6th Birthday Basil!


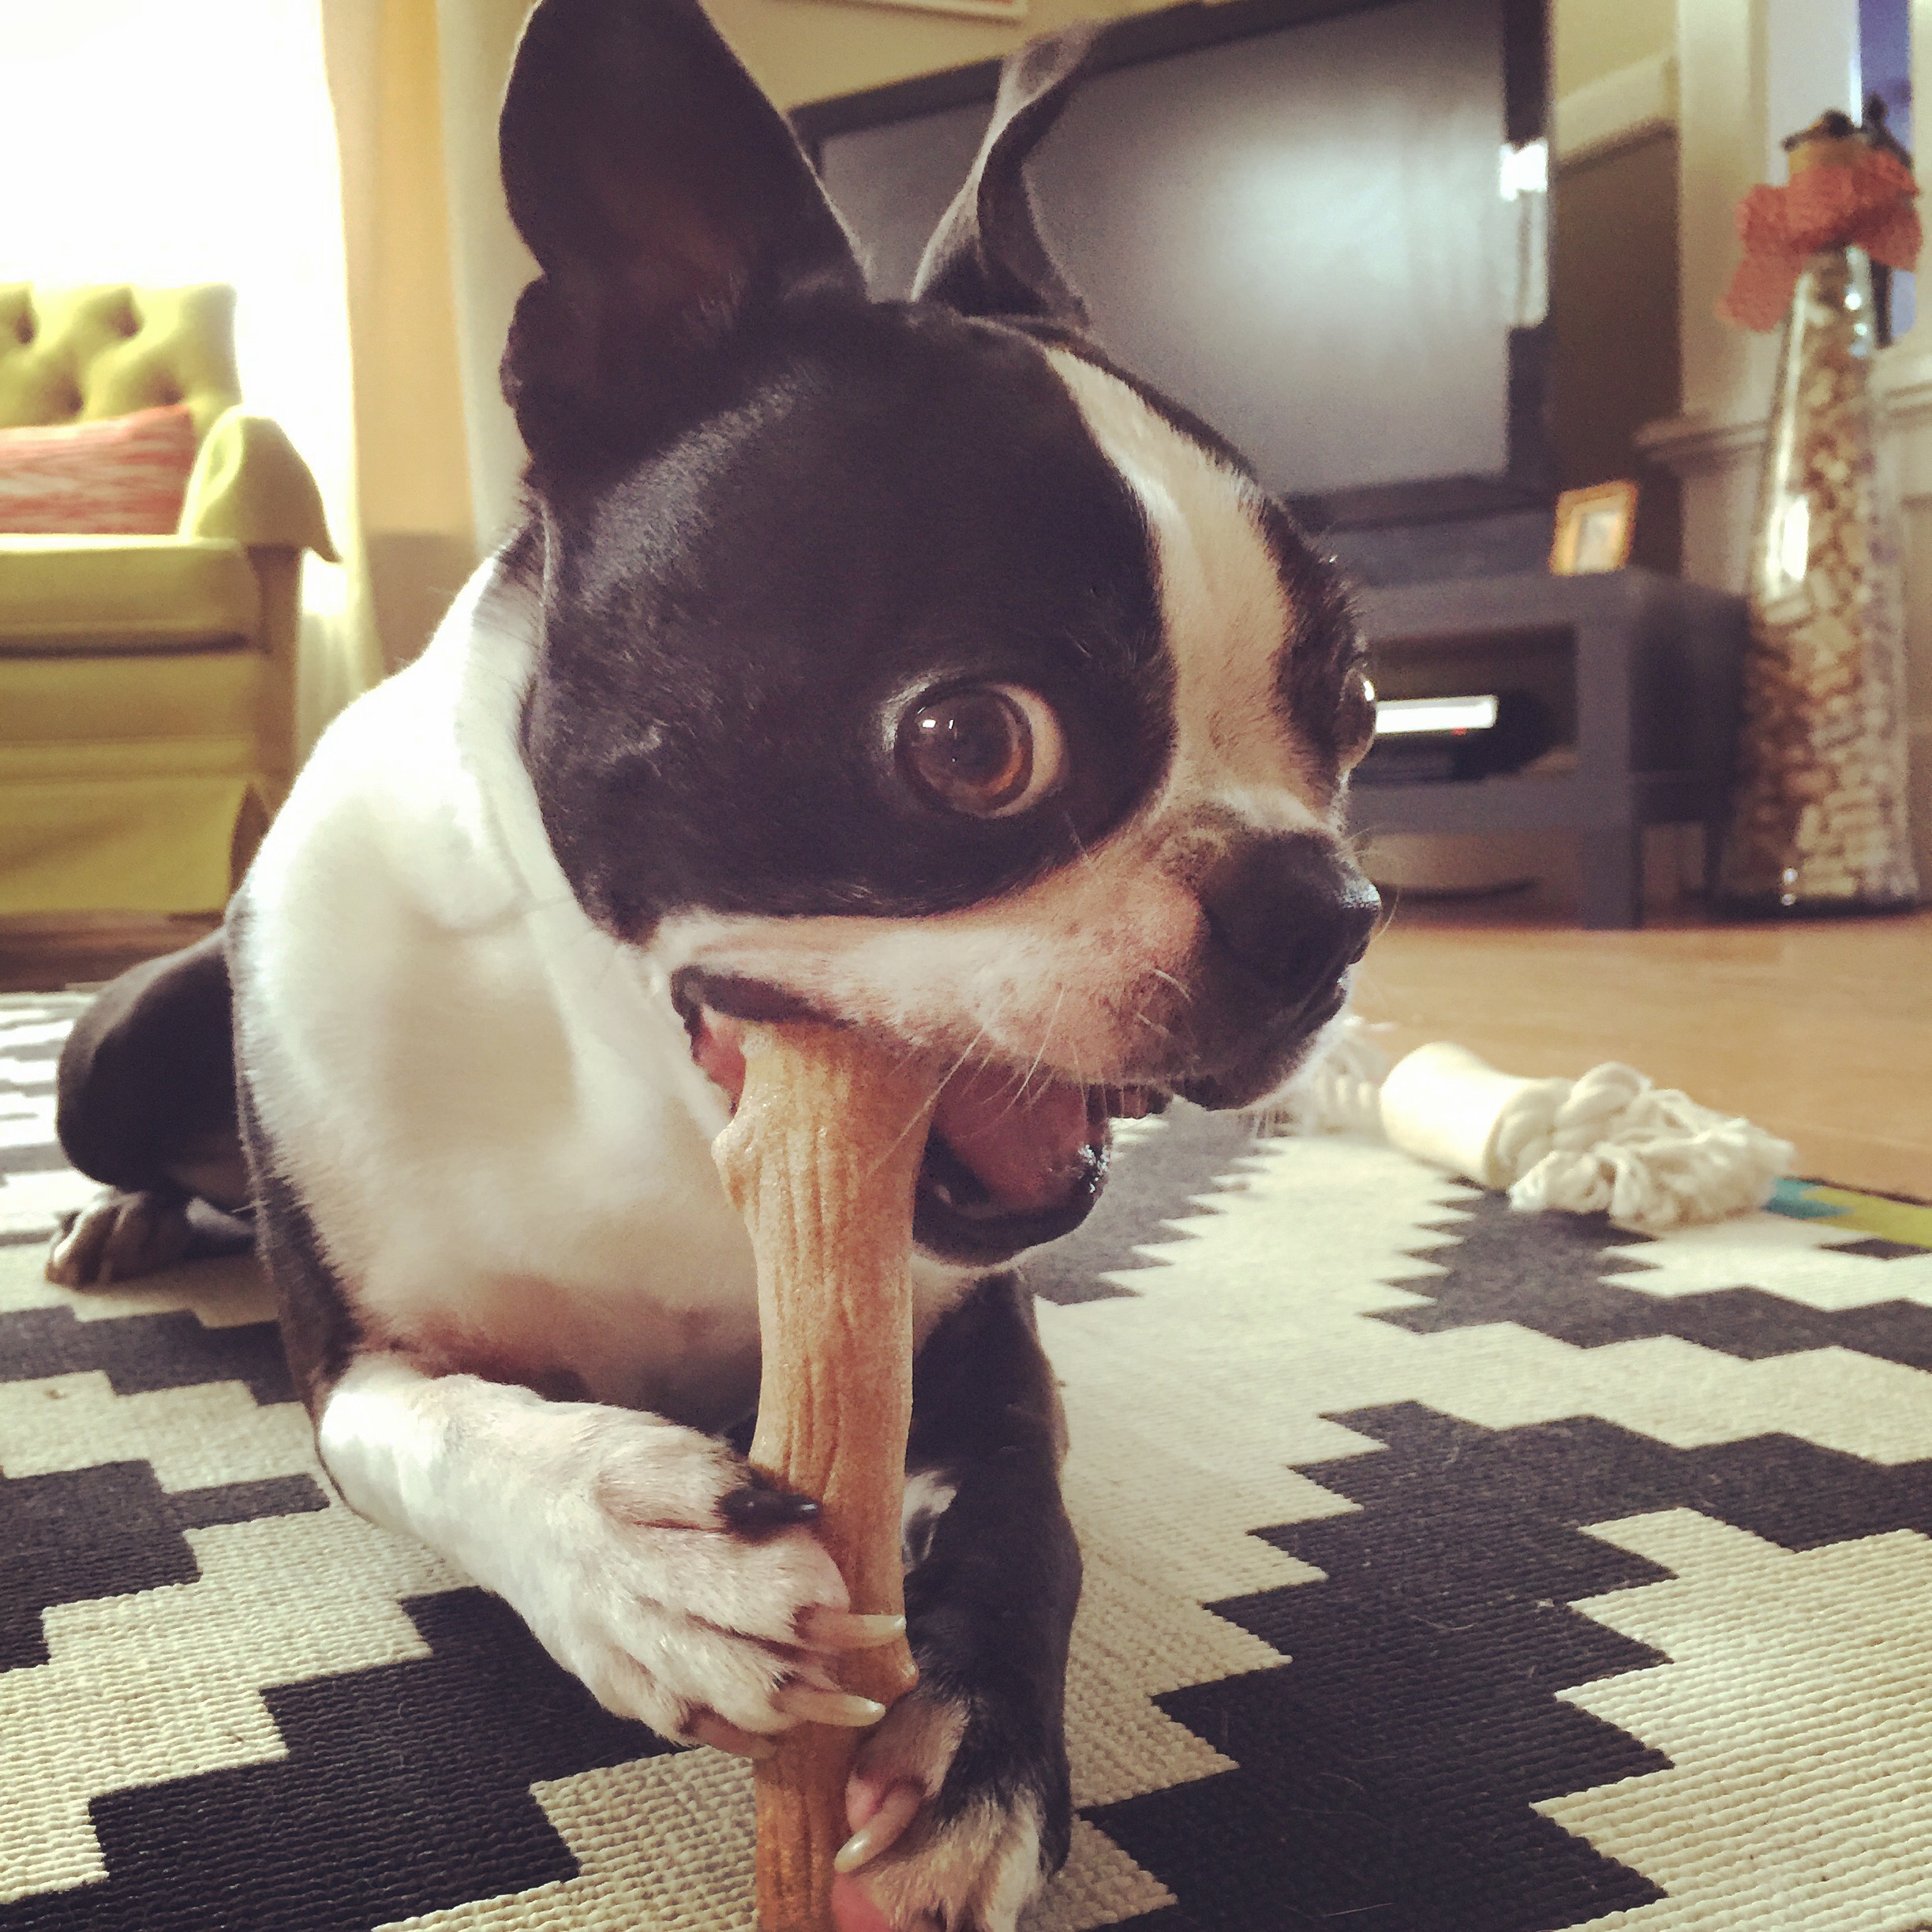
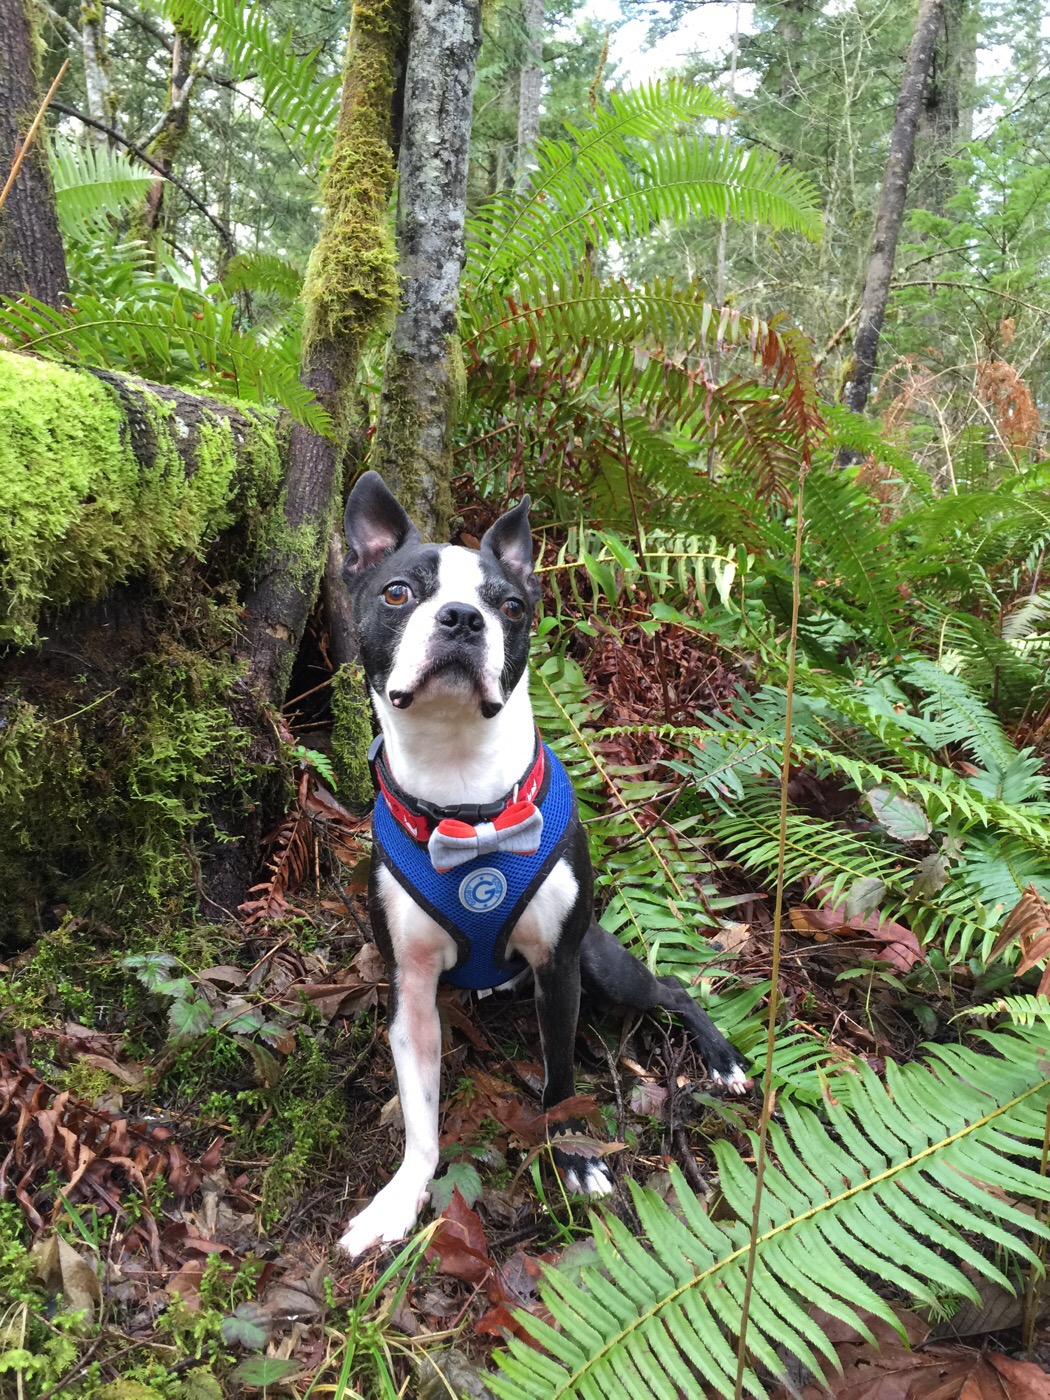
   Today we celebrate Basils 6th birthday. I can’t believe he is 6 years old already! We spend the day having puppy treats and going on a nice long walk around Basil’s favorite local lake. Coming this weekend we are having a little doggie party with all his little friends and his auntie Farrah is even making him homemade gourmet dog cookies!

Some exciting things are coming to Basil’s Travels this coming year. Thank you for everyone that is still a fan and make sure to check back often for new DIY, travel tips, dog friendly happenings, and more!

We love you guys and thanks again for sticking with us! Xoxo

Travel well, nap well, live well!
-Abbey & Basil

BP_Wordless_wed_Hop_Logo_2014


Two Years Already?!

Happy Saturday friends! Today marks the 2 year anniversary of Basil’s Travels! We couldn’t be happier from all the love and support you have given us these last couple years. We have gone on so many adventures and can’t wait for all the ones to come.

Thanks again! Here is to many more! Cheers!

Happy anniversary Basil!

Travel well, nap well, live well!
-Abbey & Basil

Re-Make it Monday! DIY Dog Bow Ties!

Its Monday and life is crazy! ICYMI Check out this Make it Monday! post for DIY Dog Bow Ties. I’ll be back next Monday with a new MIM so let me know what you want me to make. 


Happy Monday friends! For years Basil, being the 1st class hipster that he is, has been wearing bow ties. And for almost that same amount of time I have been purchasing him those bow ties. Okay so the cost isn’t that much each time, 1 bow tie retails for about $10-$20 but in the long run, that cost really adds up! So after buying Basil’s 20th bow tie (I know, I’m crazy!!) I figured I could make these, so I did!

Below you will find my simple DIY No Sew bow tie tutorial. Hopefully it works for you and your dog can look like a gentleman without breaking the bank! DIY No Sew Bow Tie Tutorial DIY No Sew Bow Tie Tutorial Step 1Step 1: There is a few things you’ll need!
• Large flat work area
• Hot glue gun
• Double sided Velcro
• Sharp scissors for cutting fabric
• Fabric
• Optional: elastic

The great thing about this project is most people have a lot of these craft supplies already in the their home. If you need anything on this list all of it can be found at your local craft store. I highly recommend using double-sided Velcro and it can be a little tricky to find. I ordered mine online(http://www.etsy.com) at a great deal. I also use a standard hot glue gun on the high setting. For my fabric, I found an amazing deal in the remnant fabric bin at Hobby Lobby. It was 1/8th a yard and only .59 cents! Also, I couldn’t pass up the Elvis in the 50’s pattern!
DIY No Sew Bow Tie Tutorial

Step 2: Cut out a square!

The size I picked was about 6 inches by 6 inches. This bow tie is going to be a little large for a medium size (20 lb.) dog but that how I like it. If you want a smaller tie make the square smaller. DIY No Sew Bow Tie Tutorial Step 3

Step 3: Flip square over and glue edges down!

It doesn’t have to be perfect! I glued the “hot dog” sides first and then the “hamburger” sides. You really just want to make clean edges for the front of the bow tie. DIY No Sew Bow Tie Tutorial Step 4

Step 4: Cut a small rectangular piece for the center of the tie!

I cut a 2×6 inch piece of fabric. Make sure the length is 3 times the size of the width. I flipped the fabric over and glued the edges down like I did with the first piece of fabric. DIY No Sew Bow Tie Tutorial Step 5
Step 5: Pinch to make your bow tie shape!

Pinch the large square that you created, from the back, to make the bow tie shape that looks best to you. When I did this it made Elvis’s face a little weird.DIY No Sew Bow Tie Tutorial Step 6

Step 6: Tie the long rectangular piece around the pinched square. Knot in the back!
Make sure the fabric is laying flat on the front. Knot fabric in the back and glue flaps down. This is also a great time to glue down what doesn’t look right!

DIY No Sew Bow Tie Tutorial Step 7DIY No Sew Bow Tie Tutorial Step 7

Step 7: Measure & Attach Velcro!

I grabbed one of Basil’s everyday dog collars and placed the double sided Velcro on top to see how much I needed. For a 1 inch collar I recommend at least 2 inches of Velcro.

I cut the Velcro and glued the strip on to the center, back of the bow tie. Make sure to place the glue on the soft side of the Velcro! This way the Velcro teeth can grab onto the collar as well as the other side of the strip. If you prefer to use elastic you can glue a loop of elastic band in the same spot.DIY No Sew Bow Tie Tutorial Step 8

Step 8: Attach to collar and look awesome!

Wrap the Velcro around the collar in your preferred area. Think about how the collar is going to hang and sit once on your pet.

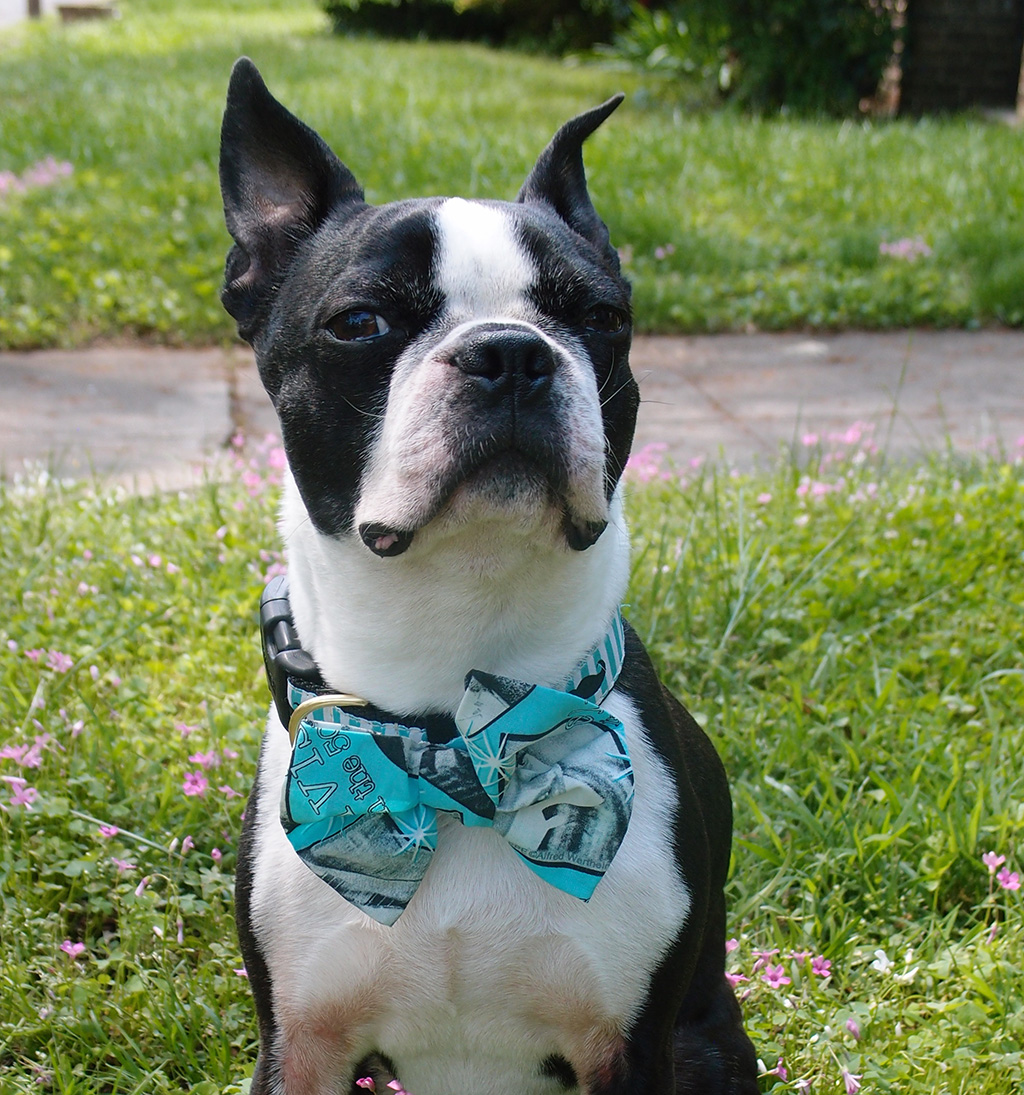
DIY No Sew Bow Tie Tutorial Look how cute he is! This bow tie is cute, easy, and lightweight. I hope you enjoyed this tutorial. Show me your pictures of your creations!

Tomorrow is Travel Tuesday and the featured city is San Antonio, Texas! So make sure to check back then!

Travel well, nap well, live well!
-Abbey & Basil

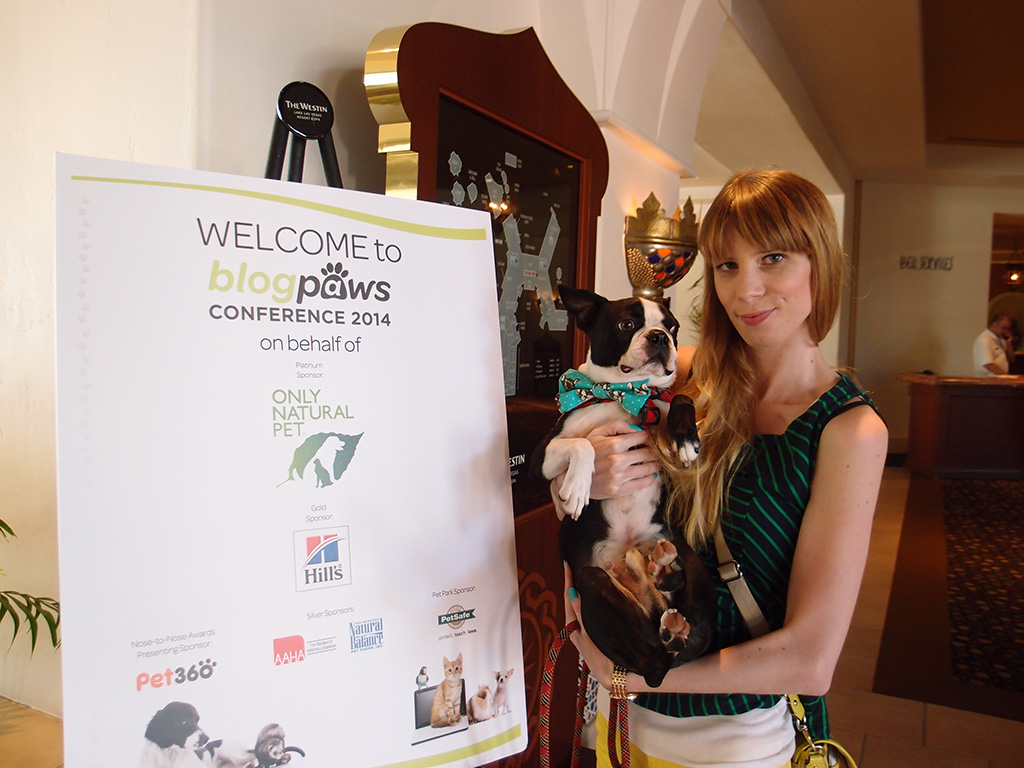
Throwback Thursday – BlogPaws Conference 2014

Today all of our fellow pet blogger friends are gathered in Nashville, TN for the 2015 BlogPaws conference. We really wish we could have been there this year but the cross country move just didn’t make it possible.

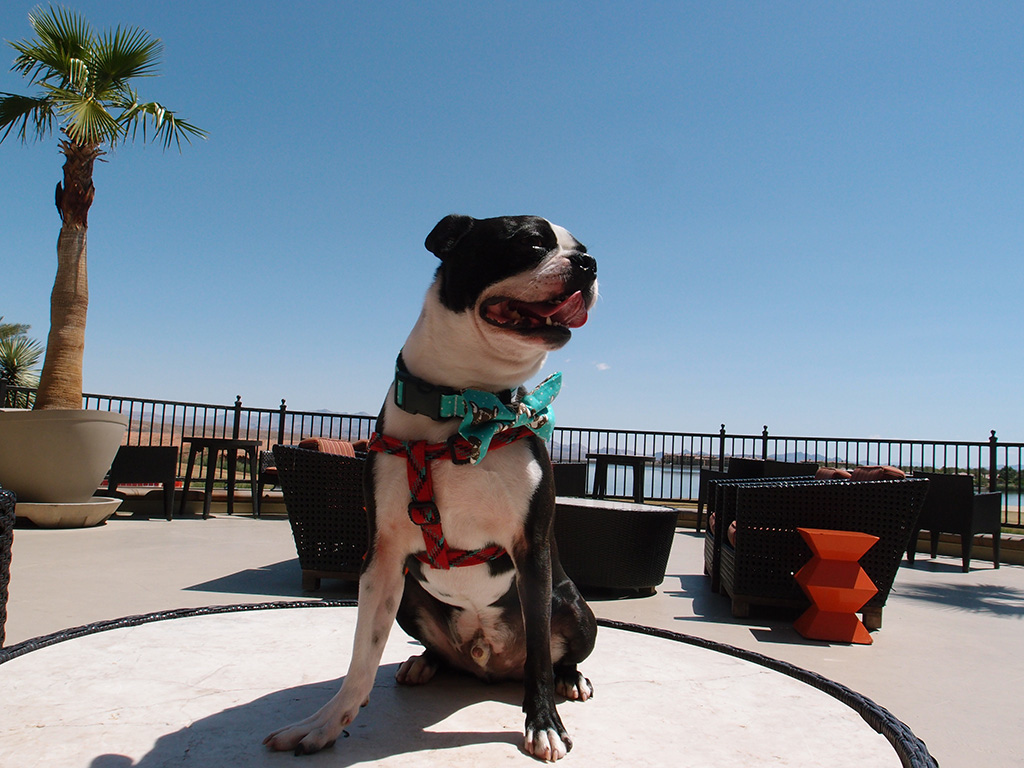
For throwback Thursday I thought I would post a few of our favorite photos from last years conference in Las Vegas, NV.  BlogPaws 2015 Las Vegas, NV BlogPaws 2015 Las Vegas, NV BlogPaws 2015 Las Vegas, NVAlthough we are missing the conference this year we will still be able to watch the Nose-to-Nose award show online, which we are nominated for an award in the Best Photo category. If you want to watch the award show along with us you can find the live stream here, https://www.youtube.com/user/BlogPaws starting at 7pm CST on Saturday May 30th.

Hopefully we will be able to attend the conference next year to learn a lot and see all our friends!

Now back to packing up our entire life! Washington State, we’ll see you soon! Xoxo

Travel well, nap well, live well!
-Abbey & Basil

DIY No Sew Bow Ties for Pets!

Happy Monday friends! For years Basil, being the 1st class hipster that he is, has been wearing bow ties. And for almost that same amount of time I have been purchasing him those bow ties. Okay so the cost isn’t that much each time, 1 bow tie retails for about $10-$20 but in the long run, that cost really adds up! So after buying Basil’s 20th bow tie (I know, I’m crazy!!) I figured I could make these, so I did!

Below you will find my simple DIY No Sew bow tie tutorial. Hopefully it works for you and your dog can look like a gentleman without breaking the bank! DIY No Sew Bow Tie Tutorial DIY No Sew Bow Tie Tutorial Step 1Step 1: There is a few things you’ll need!
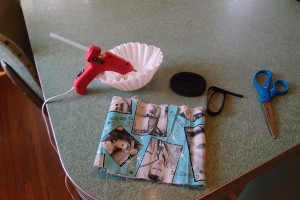
• Large flat work area
• Hot glue gun
• Double sided Velcro
• Sharp scissors for cutting fabric
• Fabric
• Optional: elastic

The great thing about this project is most people have a lot of these craft supplies already in the their home. If you need anything on this list all of it can be found at your local craft store. I highly recommend using double-sided Velcro and it can be a little tricky to find. I ordered mine online(http://www.etsy.com) at a great deal. I also use a standard hot glue gun on the high setting. For my fabric, I found an amazing deal in the remnant fabric bin at Hobby Lobby. It was 1/8th a yard and only .59 cents! Also, I couldn’t pass up the Elvis in the 50’s pattern!
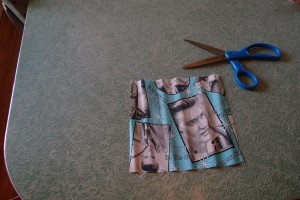
DIY No Sew Bow Tie Tutorial

Step 2: Cut out a square!

The size I picked was about 6 inches by 6 inches. This bow tie is going to be a little large for a medium size (20 lb.) dog but that how I like it. If you want a smaller tie make the square smaller. DIY No Sew Bow Tie Tutorial Step 3
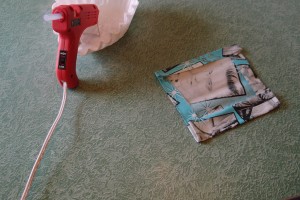
Step 3: Flip square over and glue edges down!

It doesn’t have to be perfect! I glued the “hot dog” sides first and then the “hamburger” sides. You really just want to make clean edges for the front of the bow tie. DIY No Sew Bow Tie Tutorial Step 4
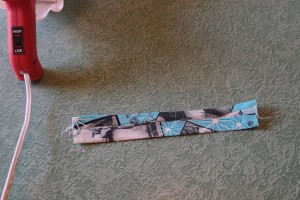
Step 4: Cut a small rectangular piece for the center of the tie!

I cut a 2×6 inch piece of fabric. Make sure the length is 3 times the size of the width. I flipped the fabric over and glued the edges down like I did with the first piece of fabric. DIY No Sew Bow Tie Tutorial Step 5
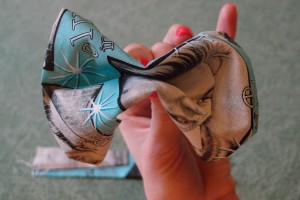
Step 5: Pinch to make your bow tie shape!

Pinch the large square that you created, from the back, to make the bow tie shape that looks best to you. When I did this it made Elvis’s face a little weird.DIY No Sew Bow Tie Tutorial Step 6
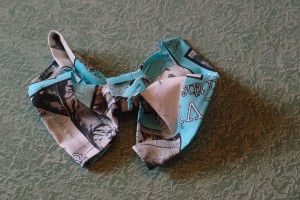
Step 6: Tie the long rectangular piece around the pinched square. Knot in the back!
Make sure the fabric is laying flat on the front. Knot fabric in the back and glue flaps down. This is also a great time to glue down what doesn’t look right!
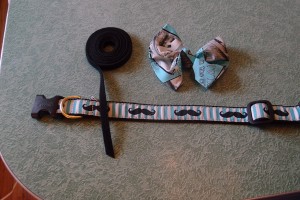
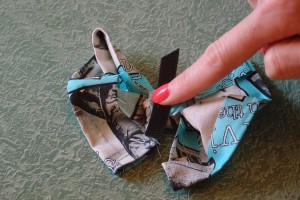
DIY No Sew Bow Tie Tutorial Step 7 DIY No Sew Bow Tie Tutorial Step 7

Step 7: Measure & Attach Velcro!

I grabbed one of Basil’s everyday dog collars and placed the double sided Velcro on top to see how much I needed. For a 1 inch collar I recommend at least 2 inches of Velcro.

I cut the Velcro and glued the strip on to the center, back of the bow tie. Make sure to place the glue on the soft side of the Velcro! This way the Velcro teeth can grab onto the collar as well as the other side of the strip. If you prefer to use elastic you can glue a loop of elastic band in the same spot.DIY No Sew Bow Tie Tutorial Step 8
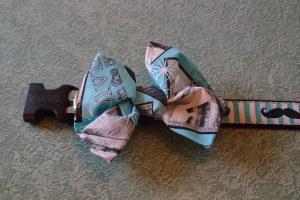
Step 8: Attach to collar and look awesome!

Wrap the Velcro around the collar in your preferred area. Think about how the collar is going to hang and sit once on your pet.
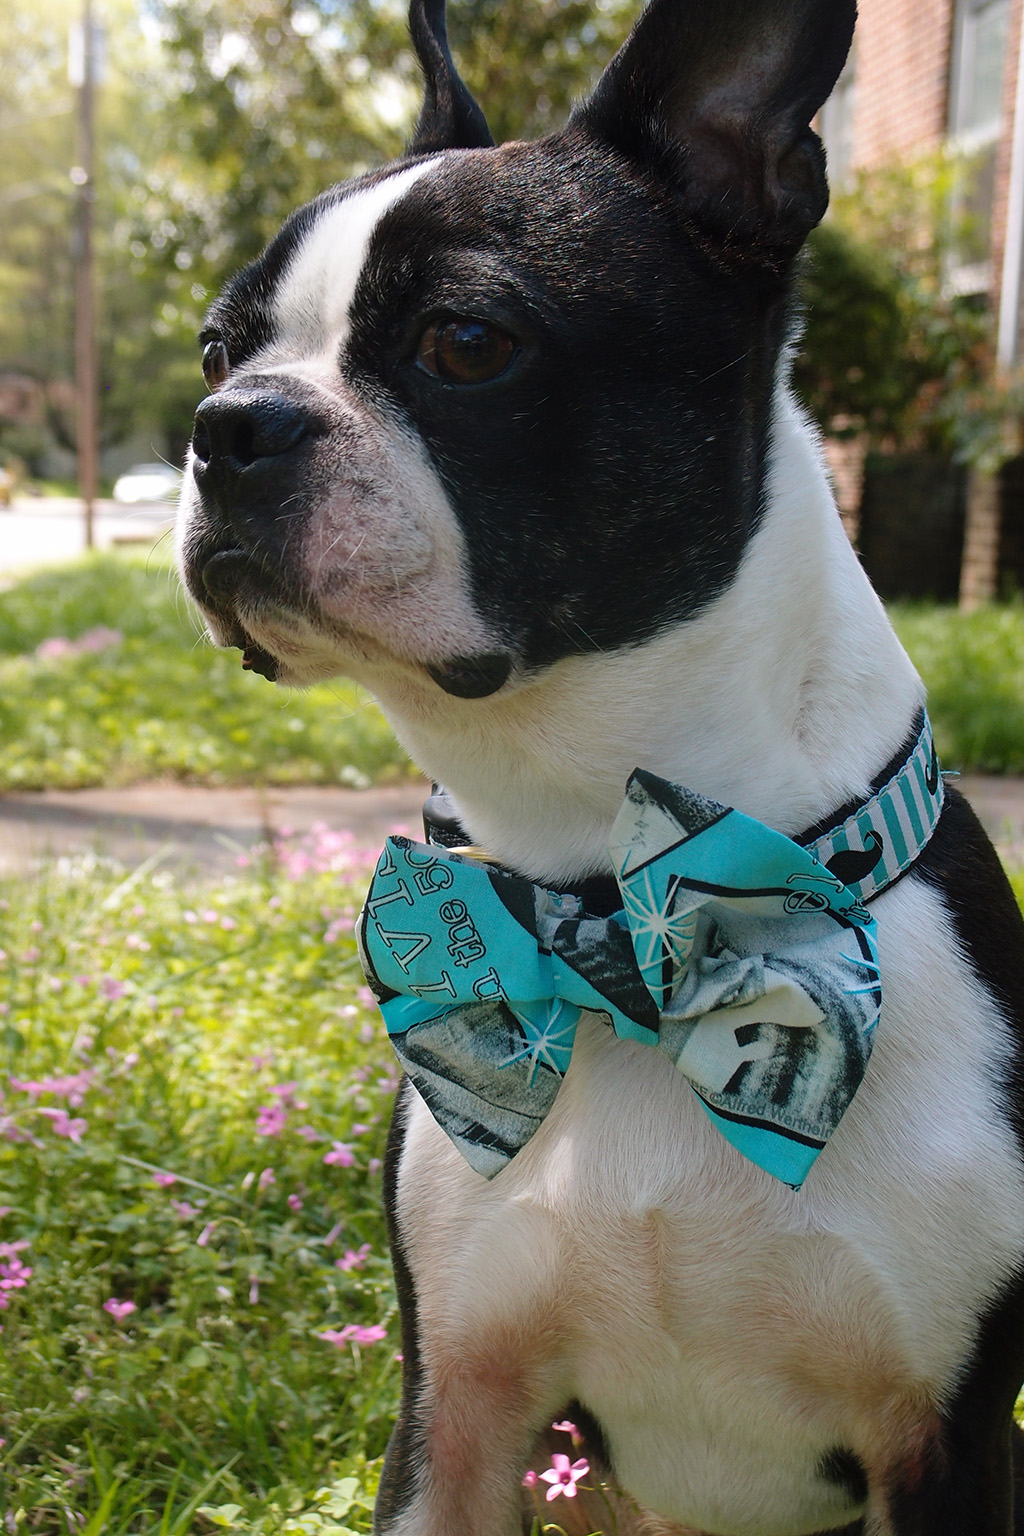
DIY No Sew Bow Tie Tutorial Look how cute he is! This bow tie is cute, easy, and lightweight. I hope you enjoyed this tutorial. Show me your pictures of your creations!

Tomorrow is Travel Tuesday and the featured city is San Antonio, Texas! So make sure to check back then!

Travel well, nap well, live well!
-Abbey & Basil