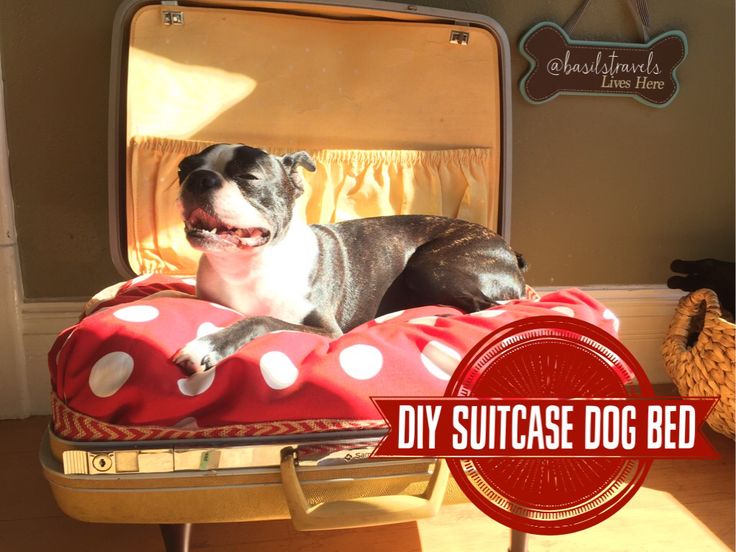
The weekend may be over but don’t let Monday get you down. Lets get creative! Today on Make it Monday! Basil, and I, with the help of my brother in-law Jake, turned a super cute vintage suitcase into a new unique dog bed.
What you need!
- Hard case suitcase. (I found this yellow Samsonite case at an antique store for $9!)
- 4 short table legs. (The ones we used were actually banister toppers found at a hardware store. The leg came with hardware already included.)
- 2 2×4 pieces of wood cut to size.
- Hot glue gun or sewing machine. (My Sewing machine is currently out of order so I went the glue route and it worked just fine.)
- 1 yard of fabric
- 1 or 2 standard size pillows or square thick foam. (I used 1 pillow and a small old quilt for padding.)
- Drill
- Optional: Trim
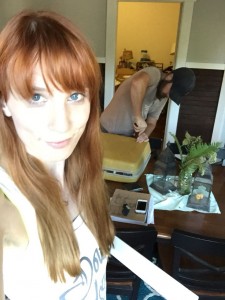
Okay so if you are anything like me you probably don’t have a clue how to build things using power tools. The extant of my knowledge is limited to hanging a picture straight on the wall and using an allen wrench to put together my “affordable Swedish crap.” This is where my brother in-law Jake came into the picture. He is a construction work and has every tool under the sun. For the first part of this project, the hard part, putting on the legs, I pretty much just handed him the pieces and said “help me!” In the following pictures if you see hairy forearms, they are not mine!
Part 1: The Hard Part! Attaching the legs!
 Step 1: Mark where you want to position the legs and drill holes.
Step 2: Attach the wood beams to the inside of the suitcase. These are going to act as the anchor for the legs. Make sure to position them over where you drilled the holes.
Step 3: Screw in the legs, with the already attached hardware, through the drilled holes and into the wood beams.
Part 2: The Fun Part!
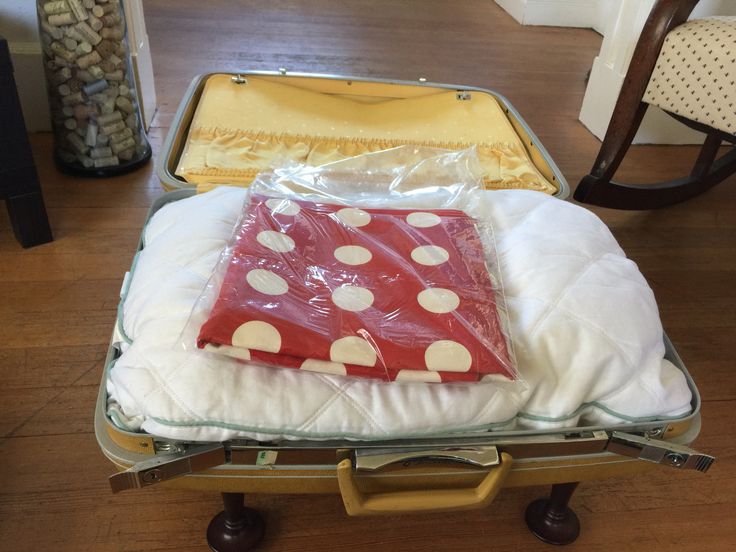
 Step 1: Find a cute fabric to match your case.
Step 2: Use fabric is cover your pillow/foam padding. Make a pillow case using your sewing machine or hot glue gun. FYI, they make fabric glue for your hot glue gun! It’s washable! (I’m not going to show you how to make a pillow case. Thats not fun. If you really don’t know, there is this magical thing called Google that will help you out.
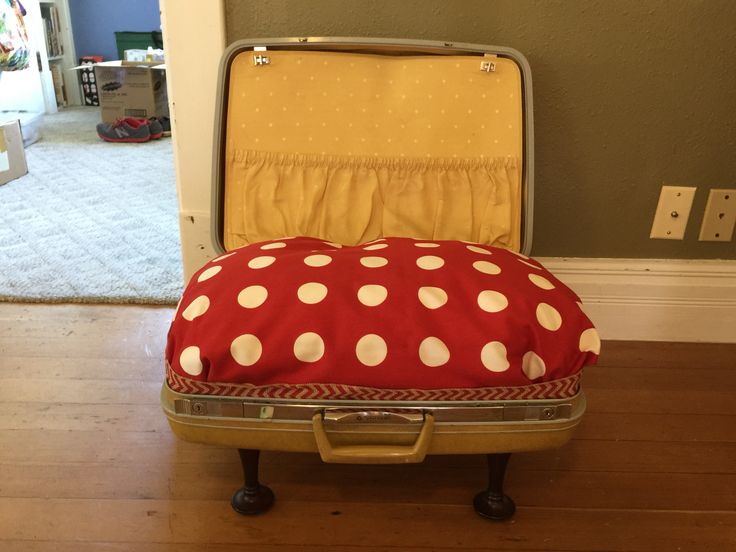
Step 3: Attach your trim, if you so choose. I liked how it looked with the trim so I went for it. I used a chevon red burlap ribbon that I found at the craft store. I used my hot glue gun to glue it around the inside of the whole case.
Step 4: Insert padding and pillows!
Done!!
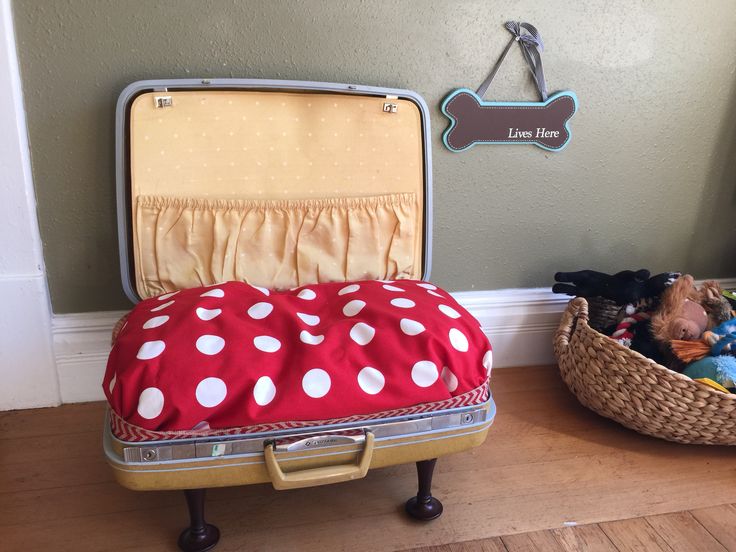
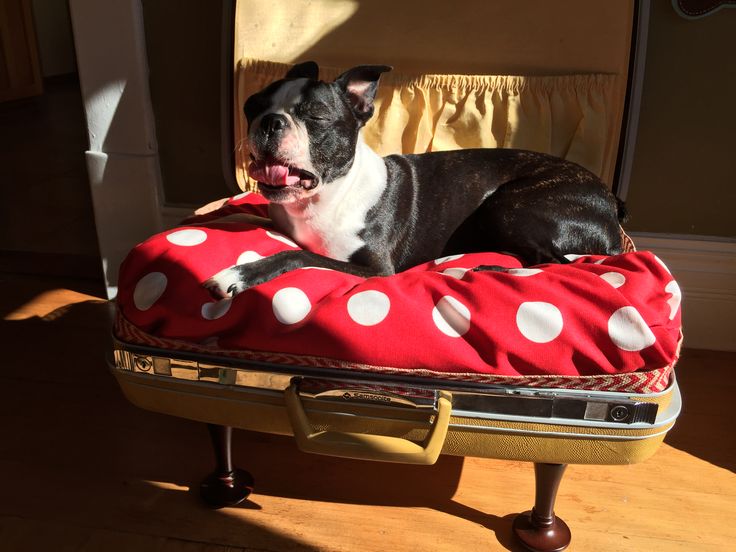 I put the adorable new bed in Basil’s new “dog cave” and he and our cats love it! The best part is now I have a dog bed that doesn’t look like a gross ugly dog bed!
Thanks to HGTV for the idea. If you want to see how they did it, its a little different, check it out here.
Let me know if you make this project. I would love to see your pictures!
Until next time friends! Xoxo
Travel well, nap well, live well!
-Abbey & Basil