Dog

Make it Monday! Peanut Butter & Carrot Dog Cupcakes!

Happy Memorial Day everyone! I hope your weekend has been fun and you are spending today relaxing.

For todays Make it Monday! I thought we would make one of Basil favorite “sweet” treats, peanut butter & carrot dog cupcakes! I’ve made these a few different times and they are always a hit. They are dog and people friendly and super simple. Peanut Butter & Carrot dog cupcakes

The recipe!

Peanut butter & carrot dog cupcakes1 cup white flour (For gluten-free use coconut flour!)
1 top baking soda
1/4 cup peanut butter
1/4 cup vegetable oil
1 cup shredded carrots
1 tsp vanilla
1/3 cup honey (If you don’t have honey on hand, I have left it out a few times, no big deal!)
1 egg
Mix flour and baking soda together and then add all other ingredients.
Bake at 350 degrees for 30-40 minutes.
I frosted these dog cakes with non-fat cream cheese and toped with a chunk of carrot.

Makes 9 cupcakes but can be doubled or tripled if you are having a real shindig!

Let me know if you make these and if your dog loved them as much as Basil does!

Travel well, nap well, live well!
-Abbey & Basil

Wordless Wednesday – Making New Friends!

Since last years Blogpaws conference Basil has been in love with ferrets! I don’t know if it is the smell or their look but he goes crazy when ferrets are around. Every time we go to the pet store he will pull me straight to the ferret cage and cry until you pick him up so he can see his new friends!
Dog meets ferrets! I’ve had a few people tell me I should get one and although Basil would be overjoyed I can’t say the same thing for our cats, Willow & Sebastian.

Happy Wordless or Wordy Wednesday!

Travel well, nap well, live well!
-Abbey & BasilBP_Wordless_wed_Hop_Logo_2014 (more…)

Make it Monday! DIY T-Shirt Dog Toy!

So being Monday and all I thought, “lets be creative!” Today is the first of my Make it Monday series. Here is a re-share of my first dog DIY project,  the T-shirt dog toy. I know a lot of people enjoyed this one and I know a lot of people missed it so I thought I would repost. I hope you like it and going forward on Mondays I’ll be posting new dog friendly recipes I’ve tried, other DIY toys, crafts for the home, and a ton more!

DIY T-Shirt Dog Toy

Hello all! In our house Basil loves new toys and my husband loves new t-shirts so I came up with a way that I can make both of those things happen much faster. By using an old, stretched out, too large t-shirt of my husbands and a pair of scissors I can make a rope toy, and I can show you how.

What you will need:

1 clean, old T-shirt

Pair of good scissorsDIY T-Shirt Dog Toy

Step one: Cut off both sleeves of the T-shirt.DIY T-Shirt Dog ToyDIY T-Shirt Dog Toy

Step two: Cut the seams off both the sleevesDIY T-Shirt Dog Toy

Step three: Cut down the seams on both sides of the body of the T-shirt.DIY T-Shirt Dog Toy

Step four: Cut long, wide strips “hot dog” wise. (One T-shirt can make two or more toys)DIY T-Shirt Dog ToyStep five: Over lap the ends of 3 to 5 of the strips. (I used only 4 this time but do whatever you are comfortable with braiding!)DIY T-Shirt Dog Toy

Step six: Use one of the seams that you cut of the sleeves to tie and knot the overlapped strips.DIY T-Shirt Dog Toy

Step seven: Braid! Make it as tight as you can for the best toy.DIY T-Shirt Dog Toy

Step eight: Use the 2nd seam from the sleeves to tie off the other end of your braid.DIY T-Shirt Dog Toy

Step nine: To finish the toy off, I hand knotted the middle to add more interest for my boy. I also added a few stitches to the knots on each end to insure that they stayed put!

All that was left was to leave the new toy in the toy bin and wait! It wasn’t long before he found it and brought it to me. We played tug-a-war for a while and I tried to get a good picture of him enjoying my handmade toy but that was much harder than expected!Dog enjoys DIY T-Shirt Dog ToyLet me know if you want me to Make it and I’ll give it a try!

Have a happy, creative Monday and we’ll see you tomorrow for Travel Tuesday!

Travel well, nap well, live well!
-Abbey & Basil

DIY No Sew Bow Ties for Pets!

Happy Monday friends! For years Basil, being the 1st class hipster that he is, has been wearing bow ties. And for almost that same amount of time I have been purchasing him those bow ties. Okay so the cost isn’t that much each time, 1 bow tie retails for about $10-$20 but in the long run, that cost really adds up! So after buying Basil’s 20th bow tie (I know, I’m crazy!!) I figured I could make these, so I did!

Below you will find my simple DIY No Sew bow tie tutorial. Hopefully it works for you and your dog can look like a gentleman without breaking the bank! DIY No Sew Bow Tie Tutorial DIY No Sew Bow Tie Tutorial Step 1
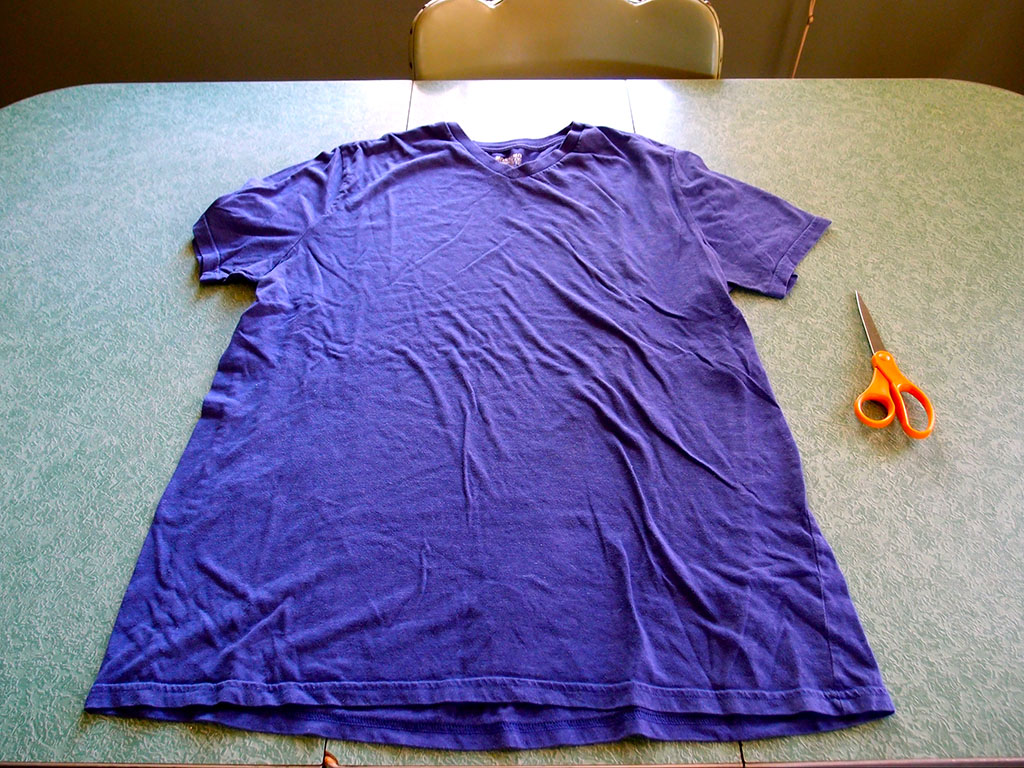
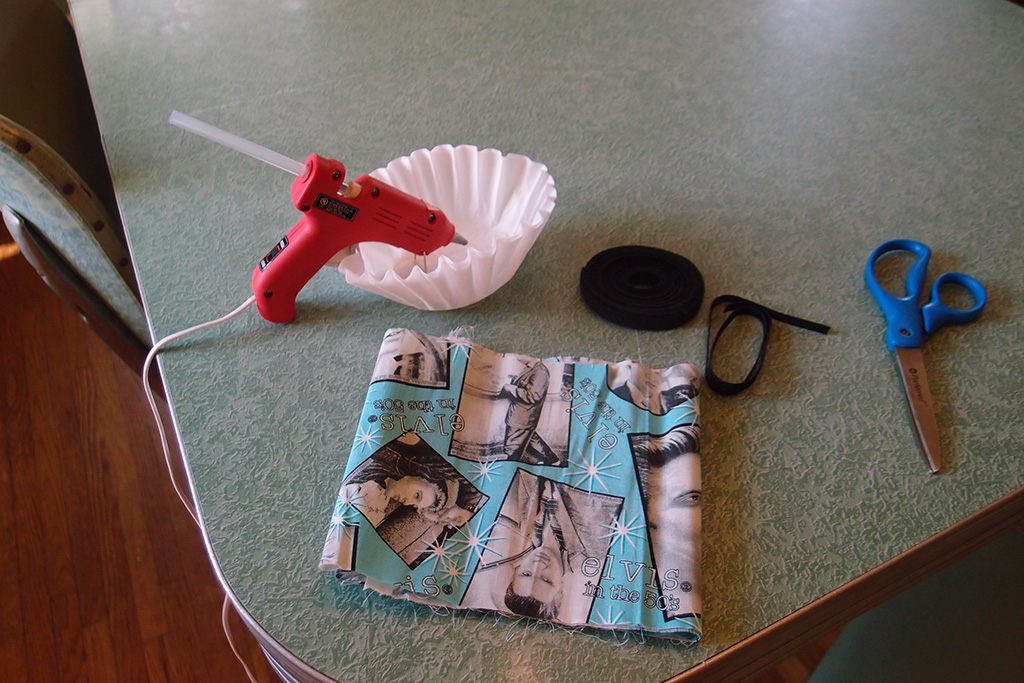
Step 1: There is a few things you’ll need!

• Large flat work area
• Hot glue gun
• Double sided Velcro
• Sharp scissors for cutting fabric
• Fabric
• Optional: elastic

The great thing about this project is most people have a lot of these craft supplies already in the their home. If you need anything on this list all of it can be found at your local craft store. I highly recommend using double-sided Velcro and it can be a little tricky to find. I ordered mine online(http://www.etsy.com) at a great deal. I also use a standard hot glue gun on the high setting. For my fabric, I found an amazing deal in the remnant fabric bin at Hobby Lobby. It was 1/8th a yard and only .59 cents! Also, I couldn’t pass up the Elvis in the 50’s pattern!
DIY No Sew Bow Tie Tutorial

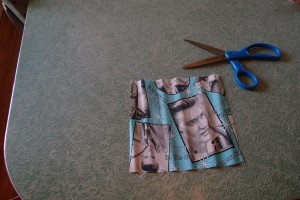
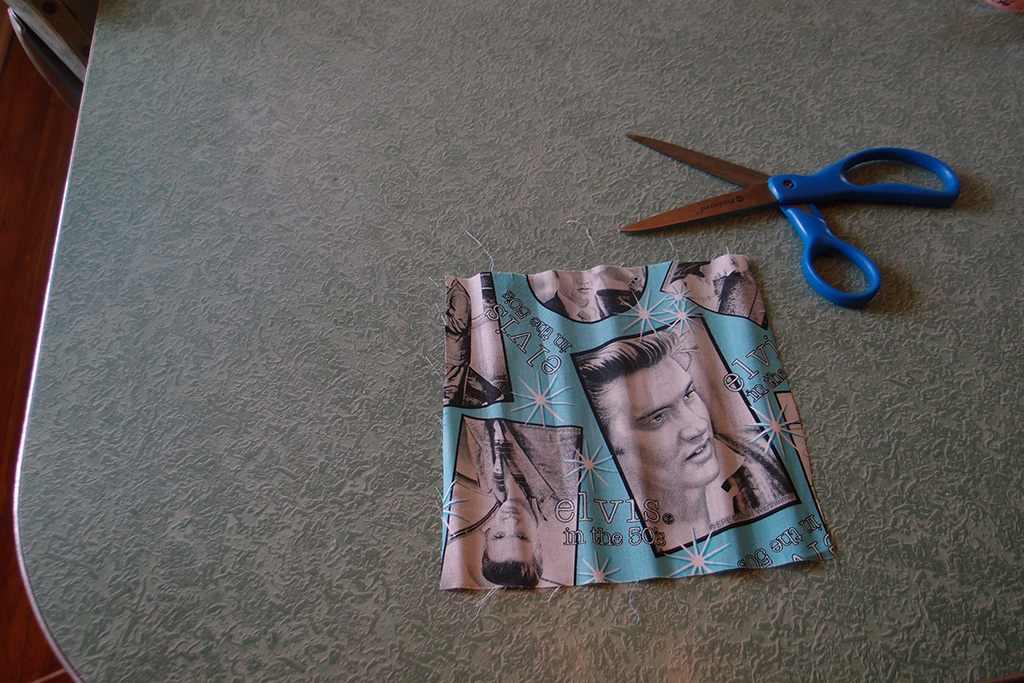
Step 2: Cut out a square!

The size I picked was about 6 inches by 6 inches. This bow tie is going to be a little large for a medium size (20 lb.) dog but that how I like it. If you want a smaller tie make the square smaller. DIY No Sew Bow Tie Tutorial Step 3

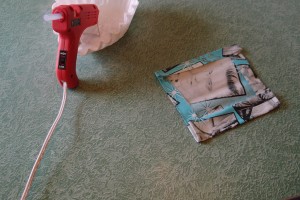
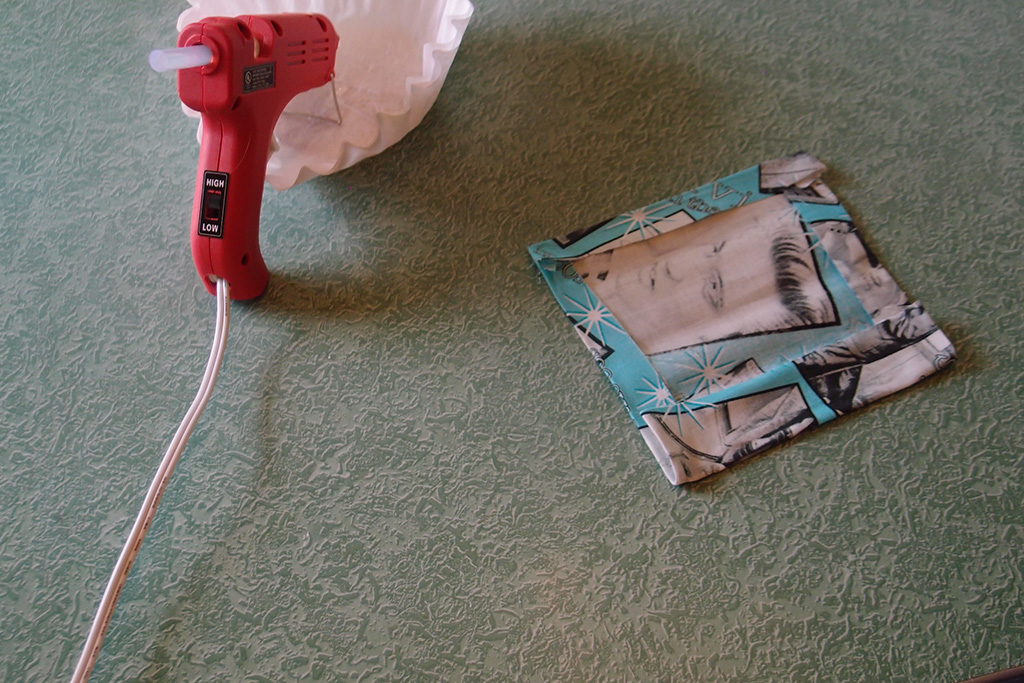
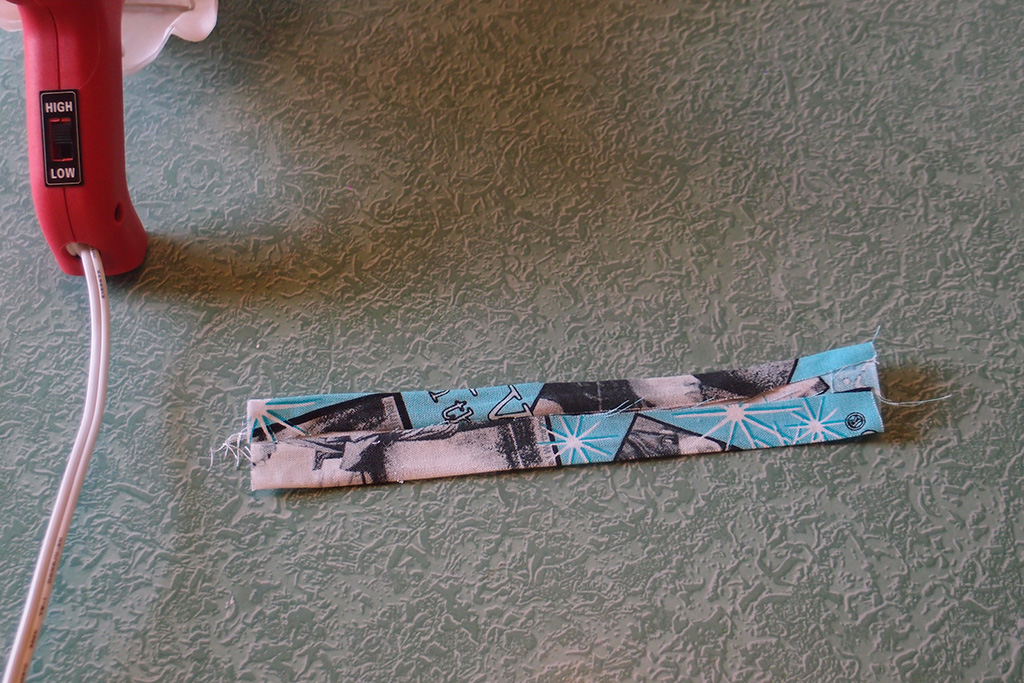
Step 3: Flip square over and glue edges down!

It doesn’t have to be perfect! I glued the “hot dog” sides first and then the “hamburger” sides. You really just want to make clean edges for the front of the bow tie. DIY No Sew Bow Tie Tutorial Step 4

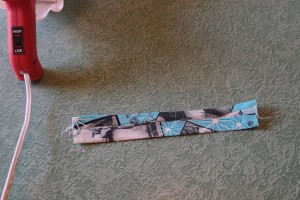
Step 4: Cut a small rectangular piece for the center of the tie!

I cut a 2×6 inch piece of fabric. Make sure the length is 3 times the size of the width. I flipped the fabric over and glued the edges down like I did with the first piece of fabric. DIY No Sew Bow Tie Tutorial Step 5
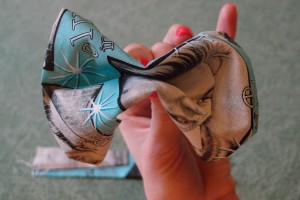
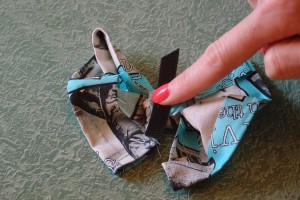
Step 5: Pinch to make your bow tie shape!

Pinch the large square that you created, from the back, to make the bow tie shape that looks best to you. When I did this it made Elvis’s face a little weird.DIY No Sew Bow Tie Tutorial Step 6

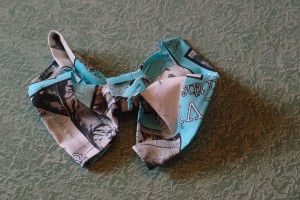
Step 6: Tie the long rectangular piece around the pinched square. Knot in the back!
Make sure the fabric is laying flat on the front. Knot fabric in the back and glue flaps down. This is also a great time to glue down what doesn’t look right!

DIY No Sew Bow Tie Tutorial Step 7 DIY No Sew Bow Tie Tutorial Step 7

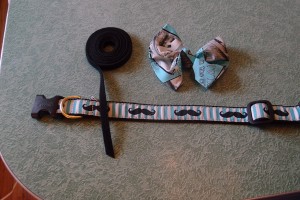
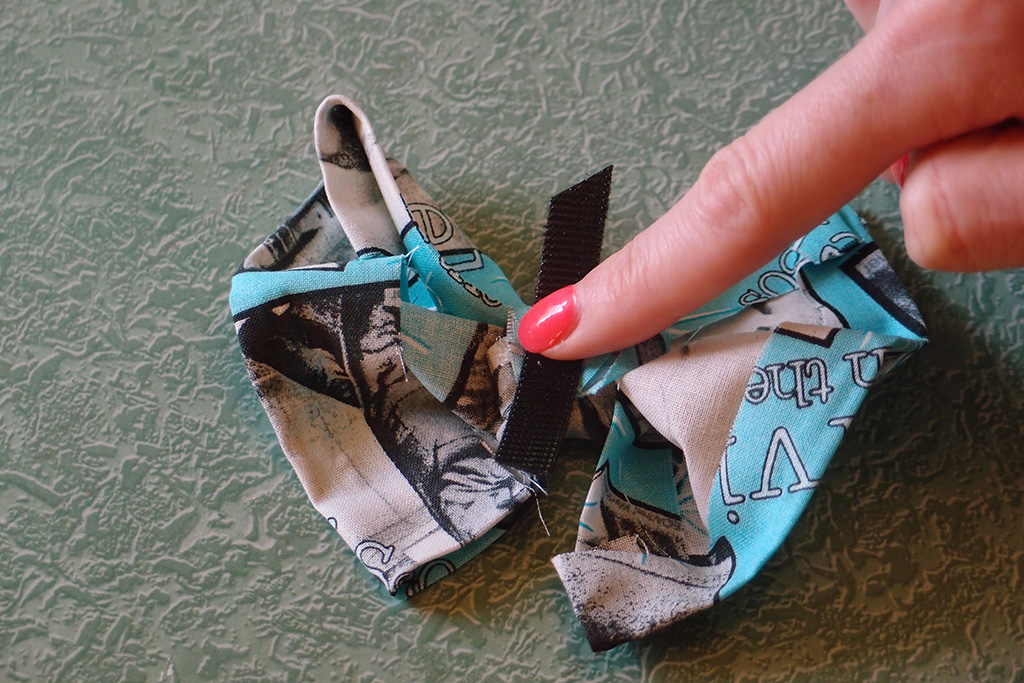
Step 7: Measure & Attach Velcro!

I grabbed one of Basil’s everyday dog collars and placed the double sided Velcro on top to see how much I needed. For a 1 inch collar I recommend at least 2 inches of Velcro.

I cut the Velcro and glued the strip on to the center, back of the bow tie. Make sure to place the glue on the soft side of the Velcro! This way the Velcro teeth can grab onto the collar as well as the other side of the strip. If you prefer to use elastic you can glue a loop of elastic band in the same spot.DIY No Sew Bow Tie Tutorial Step 8

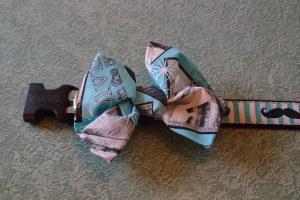
Step 8: Attach to collar and look awesome!

Wrap the Velcro around the collar in your preferred area. Think about how the collar is going to hang and sit once on your pet.

DIY No Sew Bow Tie Tutorial 
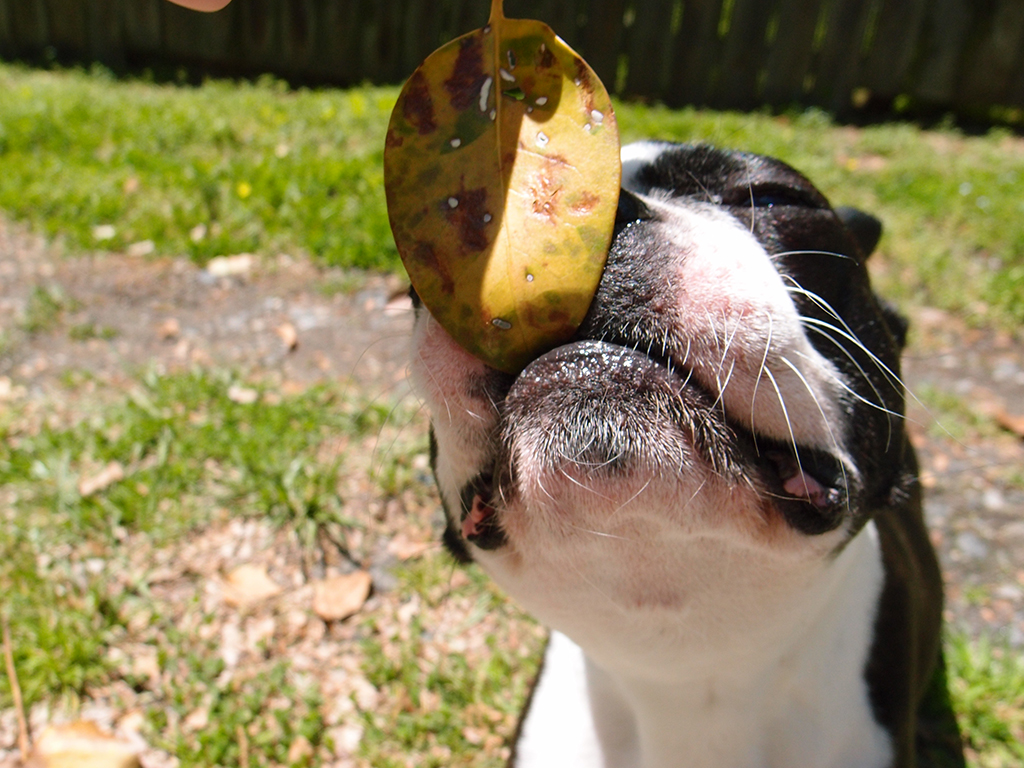
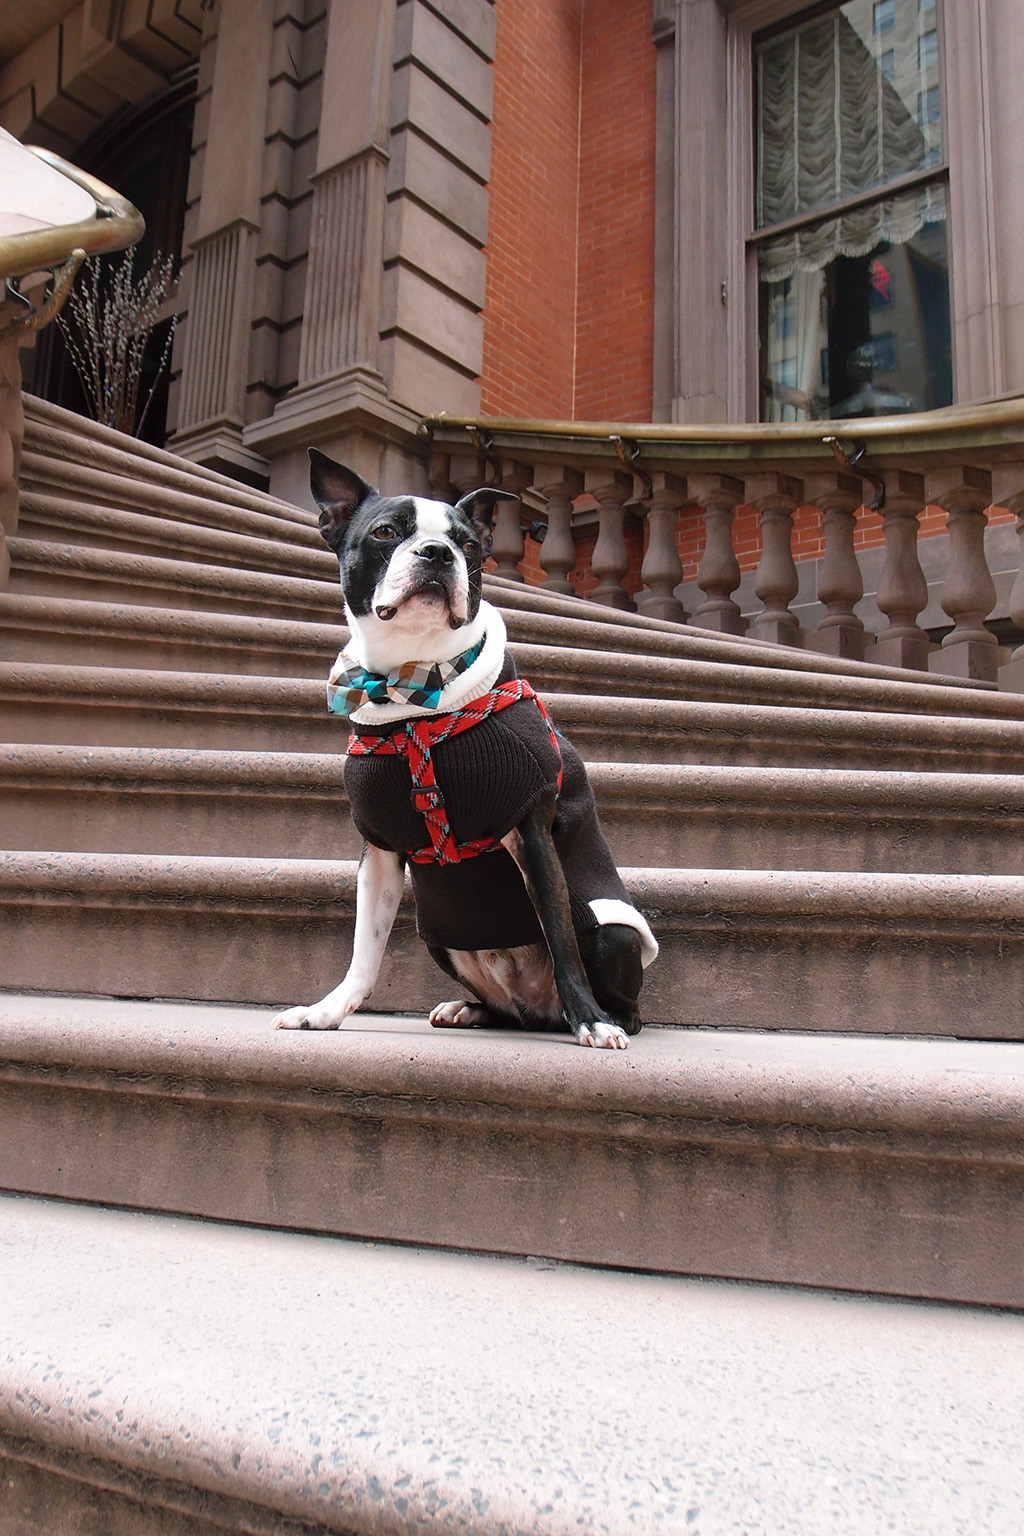
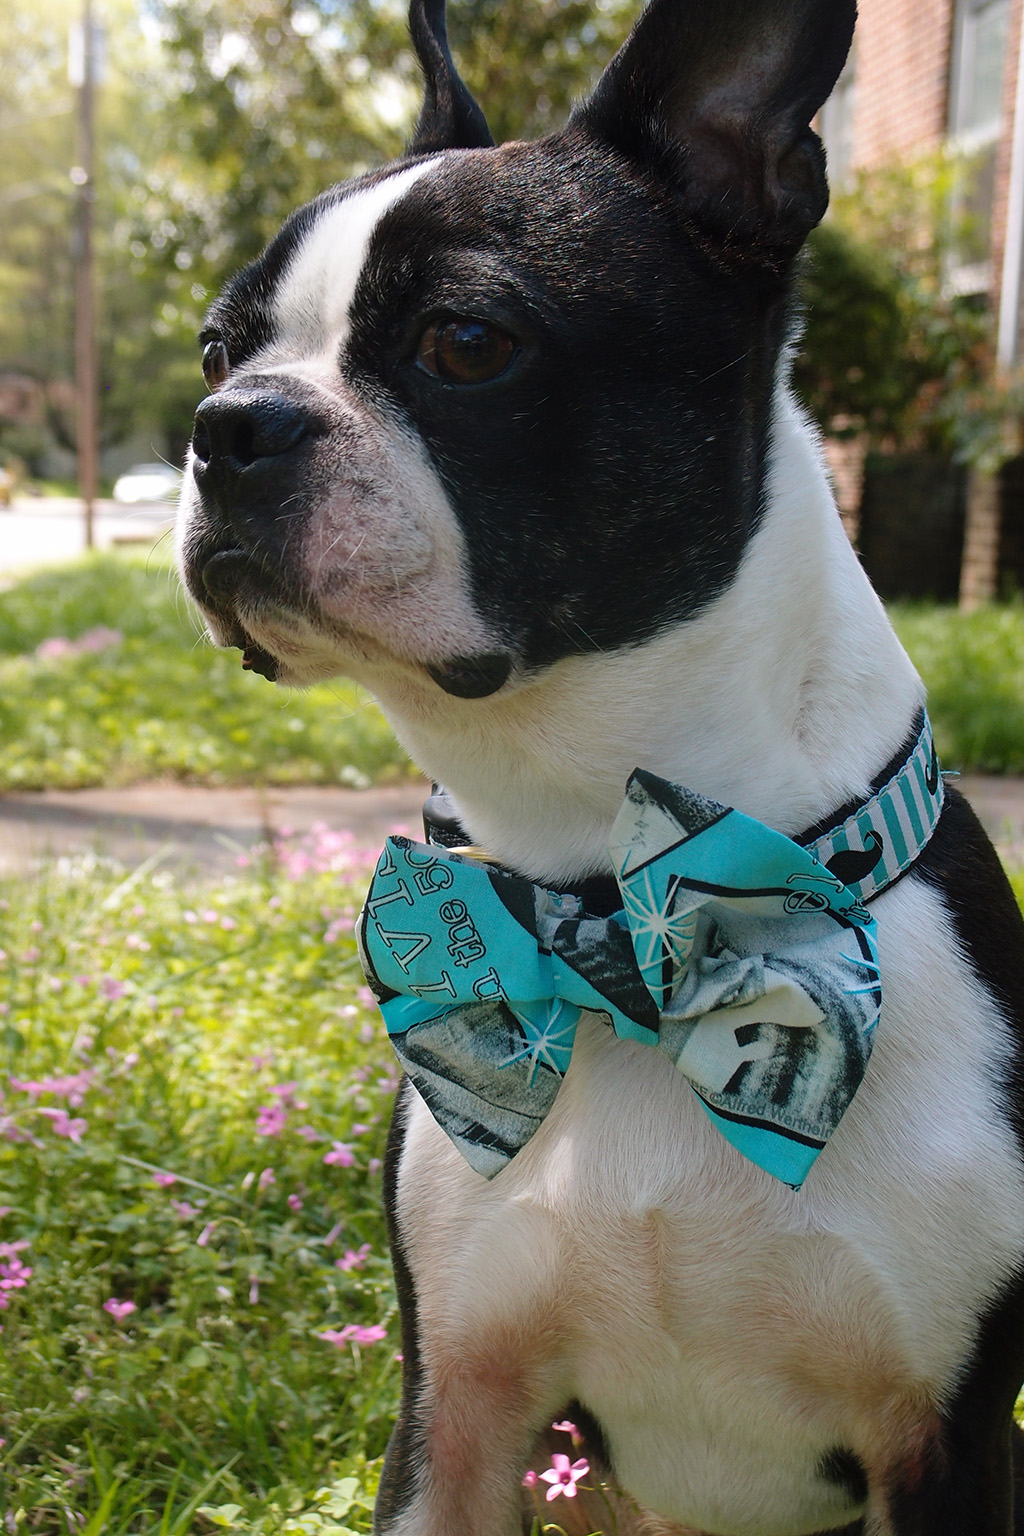
Look how cute he is! This bow tie is cute, easy, and lightweight. I hope you enjoyed this tutorial. Show me your pictures of your creations!

Tomorrow is Travel Tuesday and the featured city is San Antonio, Texas! So make sure to check back then!

Travel well, nap well, live well!
-Abbey & Basil


Happy Earth Day!

Thanks mother earth for giving us a fabulous place to live and producing tasty things to eat! Yummy leaves!Basil loves sticks!Look at that happy face? Sticks and leaves and dirt for the win!

Happy Wednesday!

Travel well, nap well, live well!
-Abbey & Basil

(more…)

Basil Presents Dog Friendly Destinations – Portland, Oregon

Its another Travel Tuesday and today we’re featuring a west coast city, Portland, Oregon! We have spend a lot of time in Portland and seriously love it! Great dog friendly city! Check it out!Dog Friendly Destinations - Portland, OR In a couple of months we will be back on the west coast and can’t wait to visit Portland again. What do you love about Portland? Let me know in the comments!

Hope everyone is having a good week!

Travel well, nap well, live well!
-Abbey & Basil

Wordless Wednesday – Basil loves Spring!

Check out this photo from last years Bark in the Park dog festival in Huntersville, NC. We are getting ready for another awesome event in a couple of weeks and we are hoping for amazing weather like last year!
A sunny spring day!Travel well, nap well, live well!
-Abbey & Basil

BP_Wordless_wed_Hop_Logo_2014 (more…)

Basil Presents Dog Friendly Destinations – Asheville, NC!

Travel Poster Dog Friendly AshevilleAsheville, NC is one of our favorite places to go and visit. There are so many great places to check out and this is only a fraction of them. Have you been to this amazing city? Where to do you like to take your four legged friend? Let me know! Also, tell me what city we should do for next weeks Travel Tuesday!

Travel well, live well, nap well!
-Abbey & Basil

Philadelphia… The city of puppy love!

Hello! This last weekend was spent in beautiful Philadelphia, Pennsylvania! Basil, Nate, and I had an amazing time and really can’t say enough good things about this historic city. It was extremely dog friendly and there was so much to see and do. If you are looking for dog friendly destinations in Philly check out our Basil Presents.. Philadelphia here!

We loved it so much Basil thinks they should change their motto from The city of brotherly love to The city of puppy love! 

Check out our photos and see just how much fun we really had!Vacation Dog in Philadelphia View from Rittenhouse Square Basil at Federal Donuts Philadelphia City Hall History dog Ivy covered home Philly Street Art "I'll get you Moriarty!" The view from the 16th floor of Hotel Palomar, Philadelphia, PA The Liberty Bell Homes in PhiladelphiaIndependence HallFamily at Independence HallChurch DoorNate & Basil walking Philly Old door Philadelphia Catholic ChurchI can’t wait for our next Philadelphia trip, it can’t come soon enough! Where do you think we should go next?

Travel well, nap well, live well!
-Abbey & Basil

Ps. My birthday is tomorrow! Yay!

1 2 3 4 5