So being Monday and all I thought, “lets be creative!” Today is the first of my Make it Monday series. Here is a re-share of my first dog DIY project, the T-shirt dog toy. I know a lot of people enjoyed this one and I know a lot of people missed it so I thought I would repost. I hope you like it and going forward on Mondays I’ll be posting new dog friendly recipes I’ve tried, other DIY toys, crafts for the home, and a ton more!
DIY T-Shirt Dog Toy
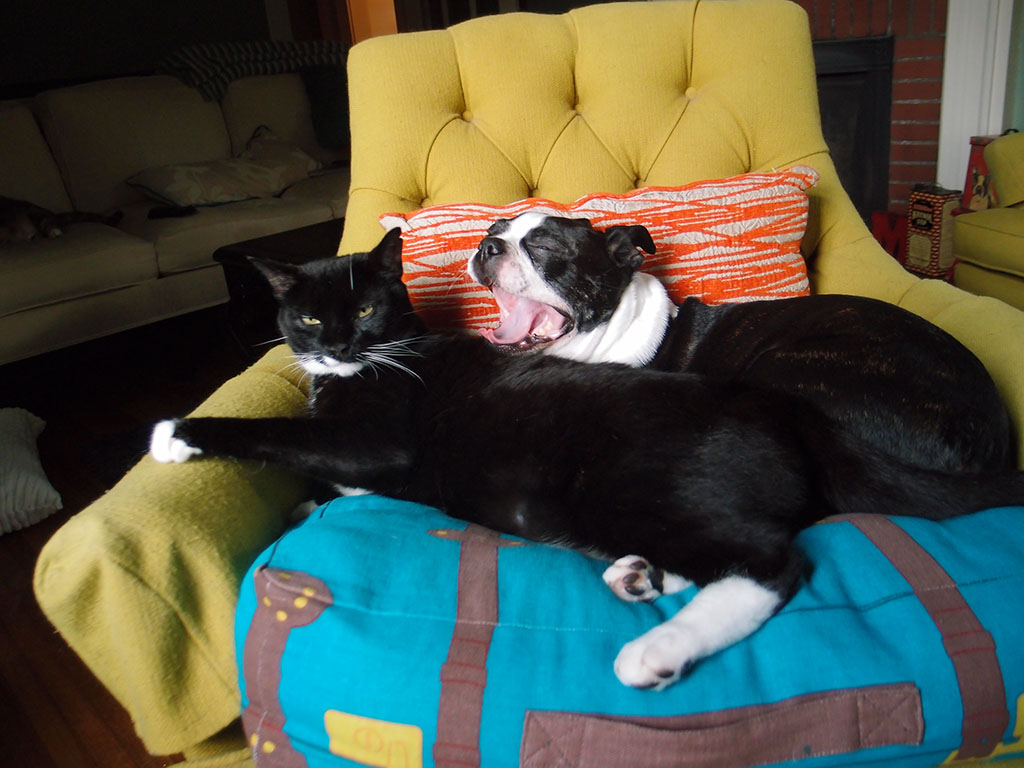
Hello all! In our house Basil loves new toys and my husband loves new t-shirts so I came up with a way that I can make both of those things happen much faster. By using an old, stretched out, too large t-shirt of my husbands and a pair of scissors I can make a rope toy, and I can show you how.
What you will need:
1 clean, old T-shirt
Pair of good scissors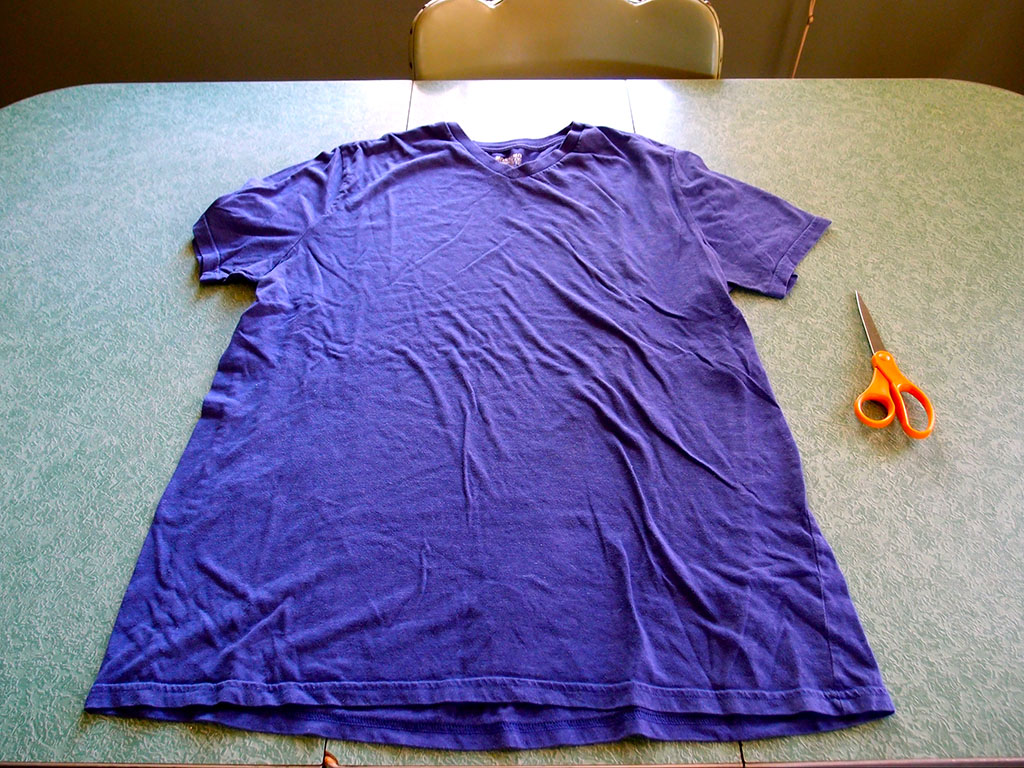
Step one: Cut off both sleeves of the T-shirt.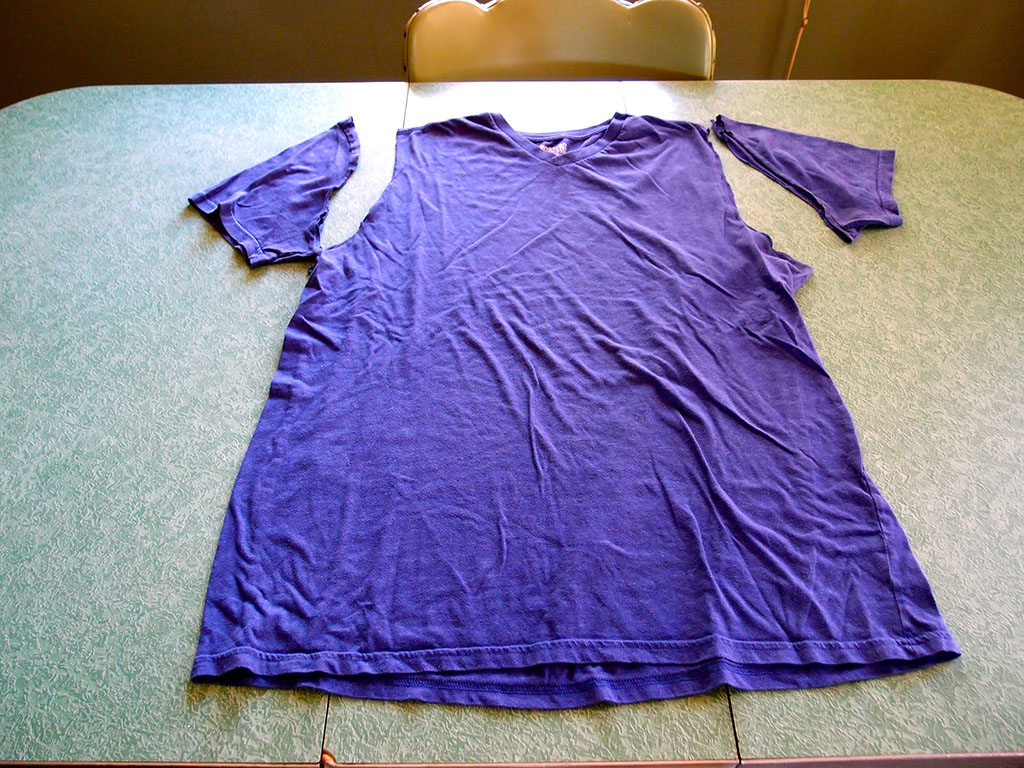
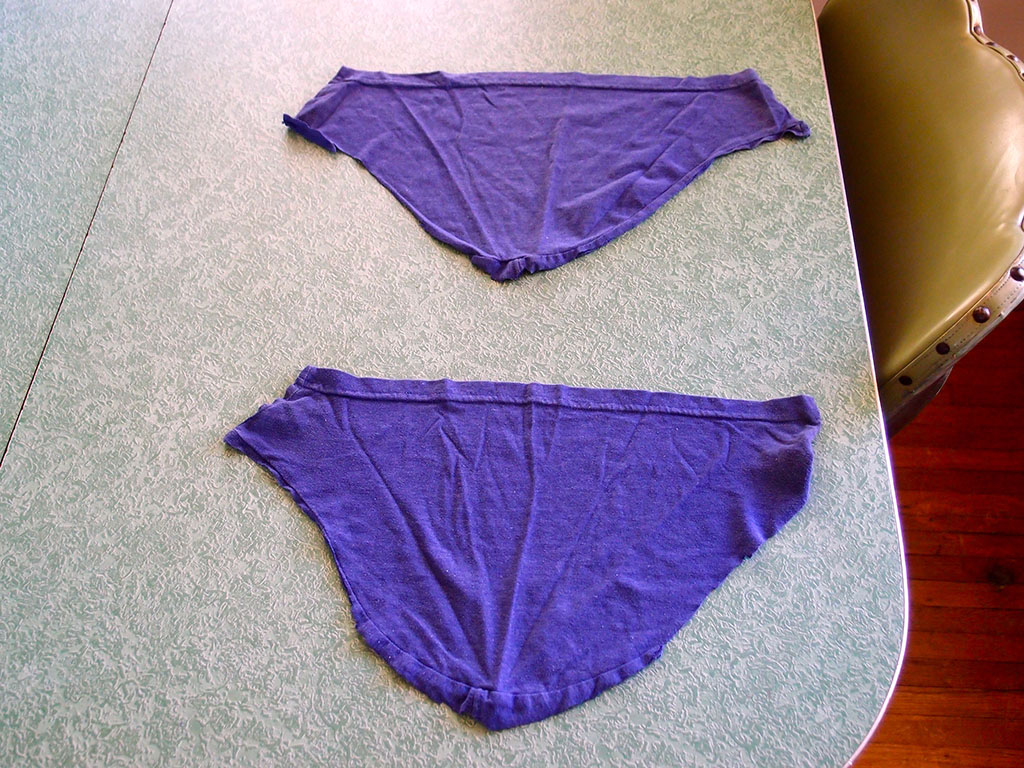
Step two: Cut the seams off both the sleeves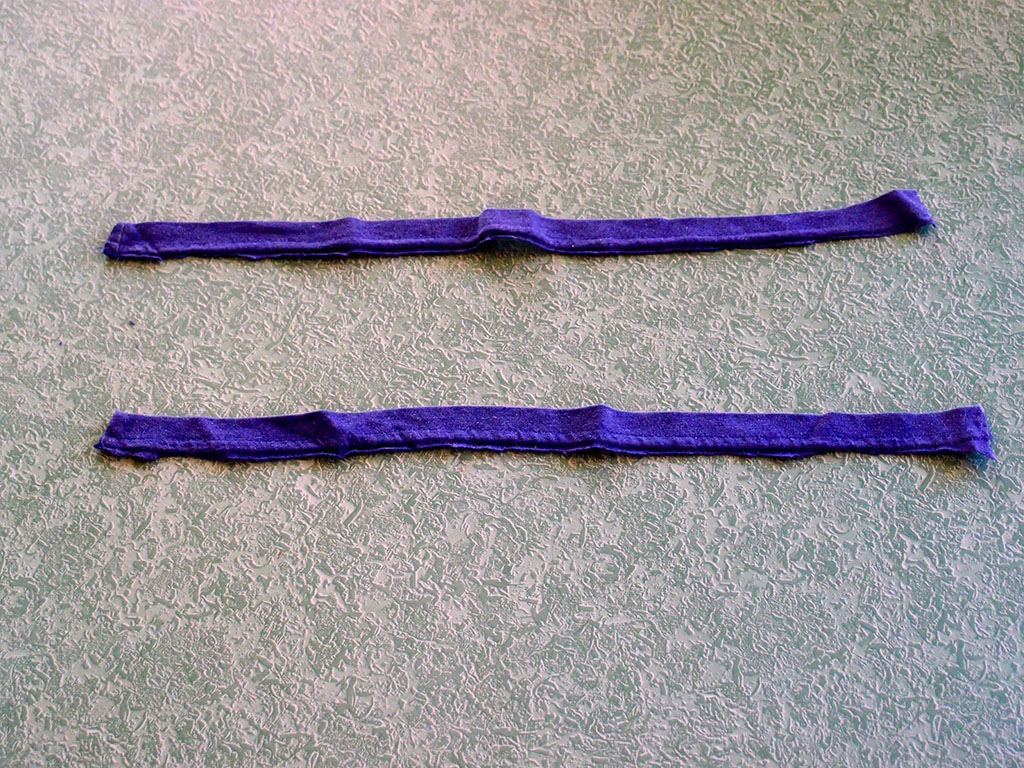
Step three: Cut down the seams on both sides of the body of the T-shirt.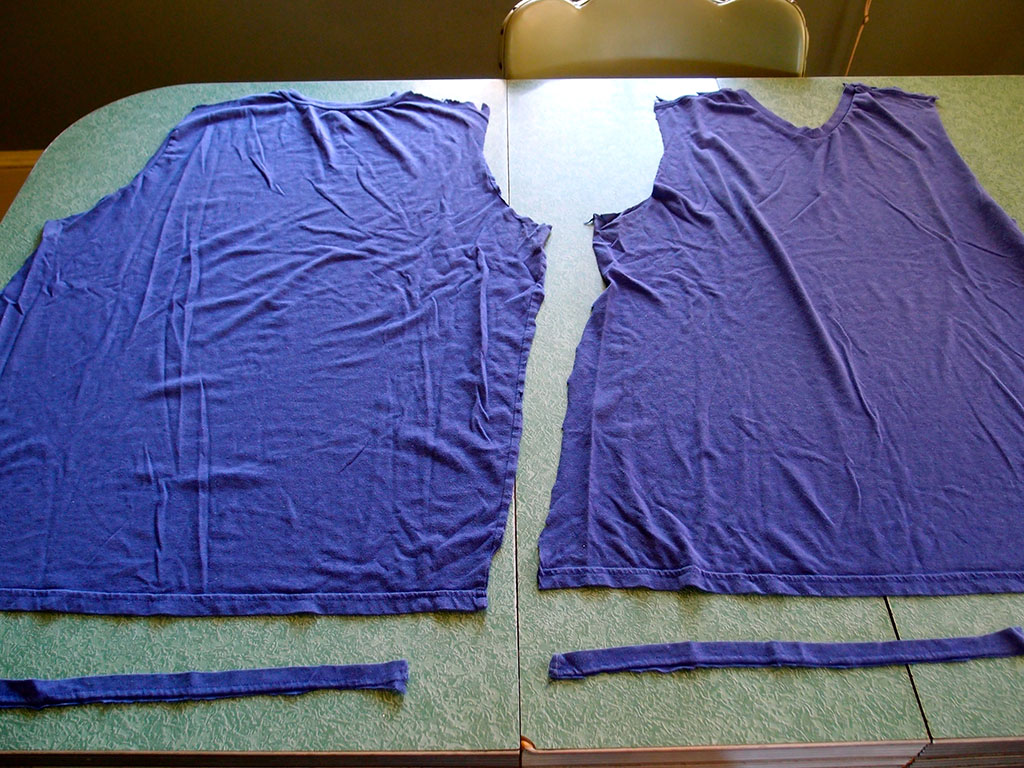
Step four: Cut long, wide strips “hot dog” wise. (One T-shirt can make two or more toys)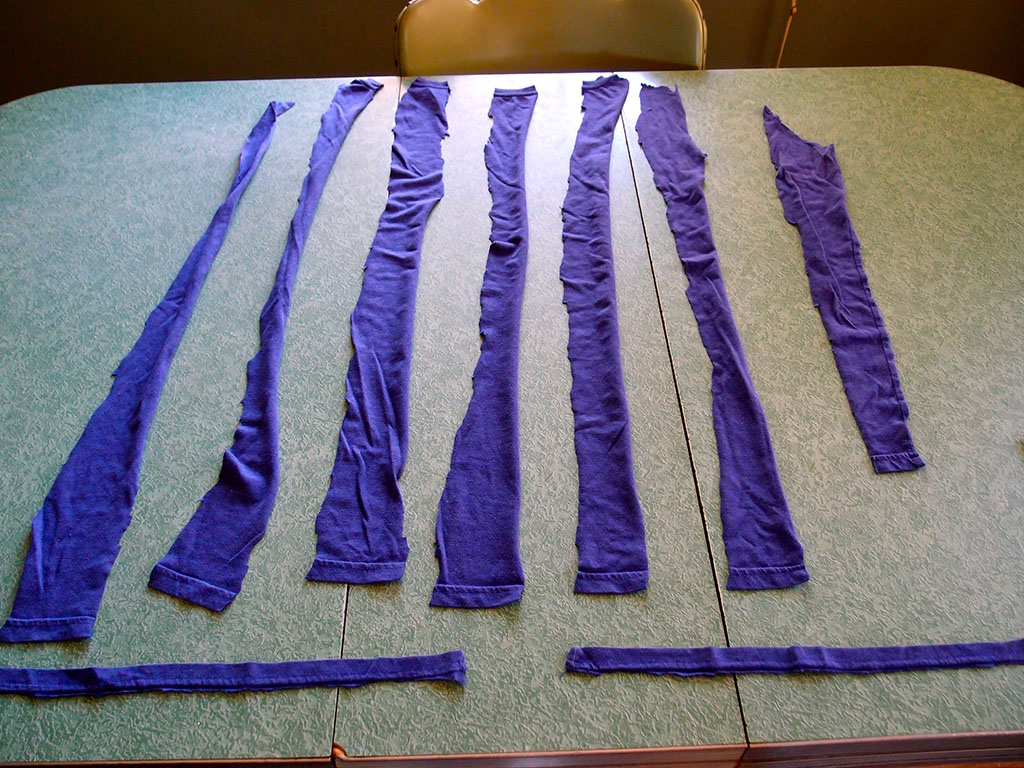 Step five: Over lap the ends of 3 to 5 of the strips. (I used only 4 this time but do whatever you are comfortable with braiding!)
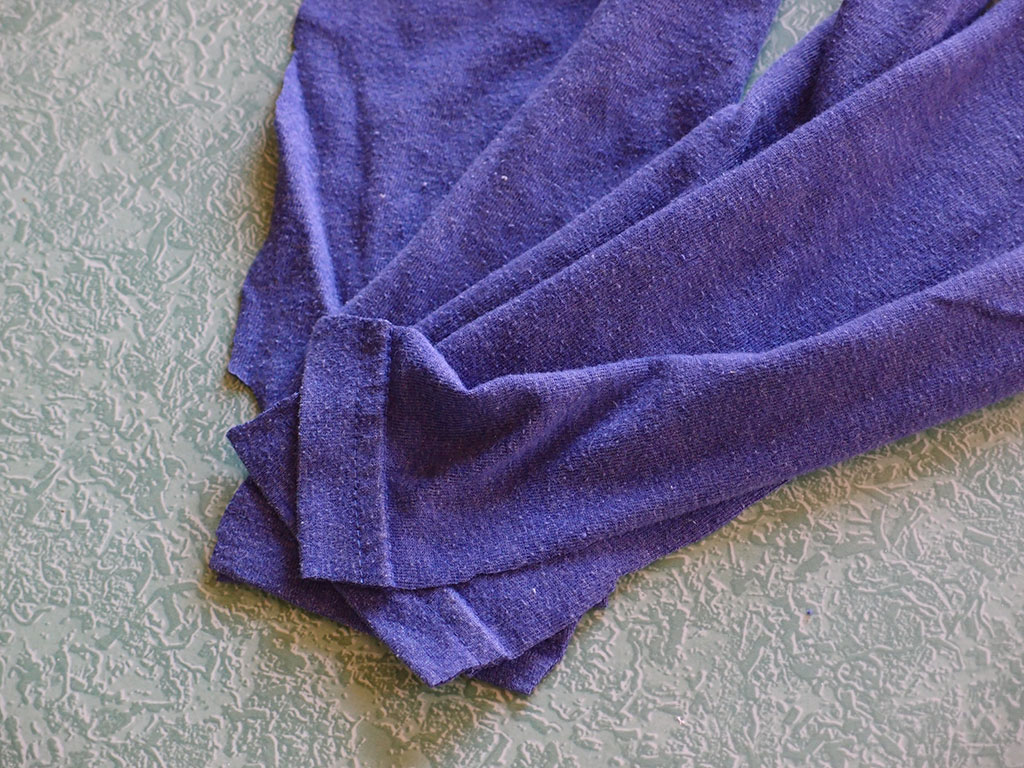
Step six: Use one of the seams that you cut of the sleeves to tie and knot the overlapped strips.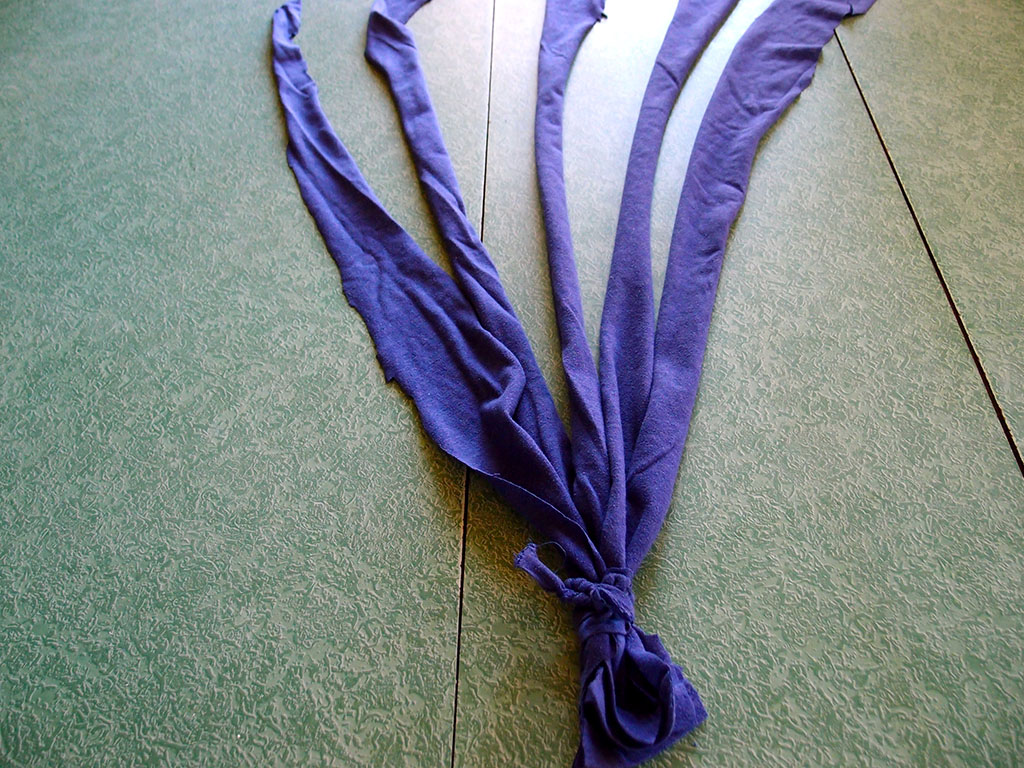
Step seven: Braid! Make it as tight as you can for the best toy.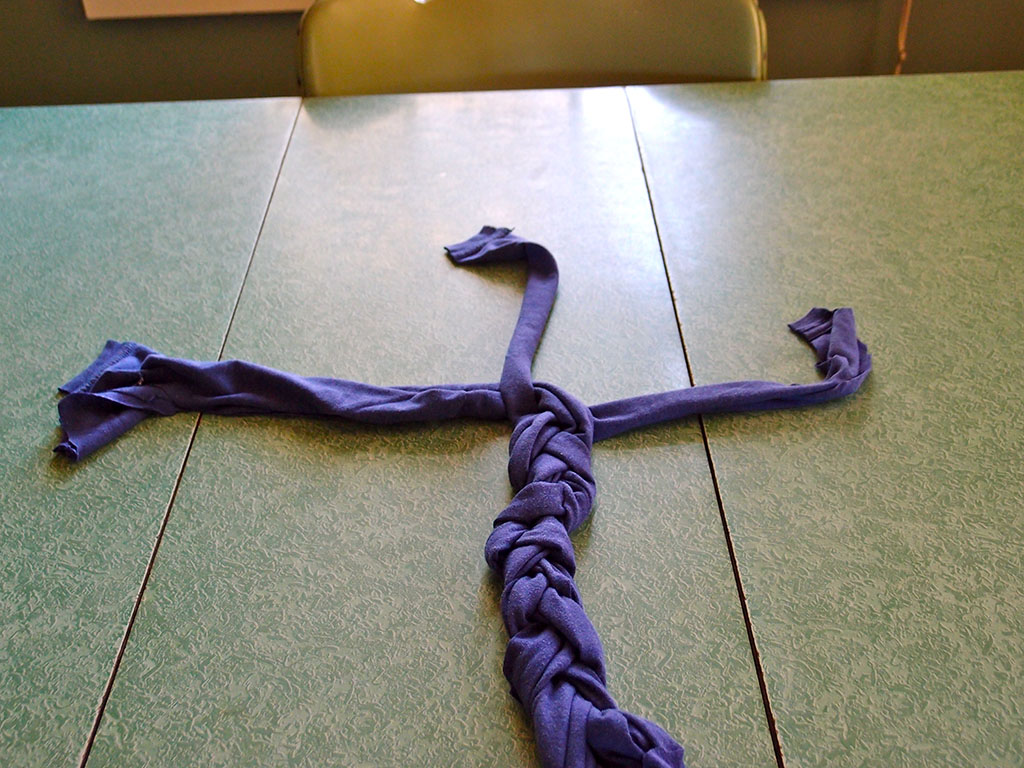
Step eight: Use the 2nd seam from the sleeves to tie off the other end of your braid.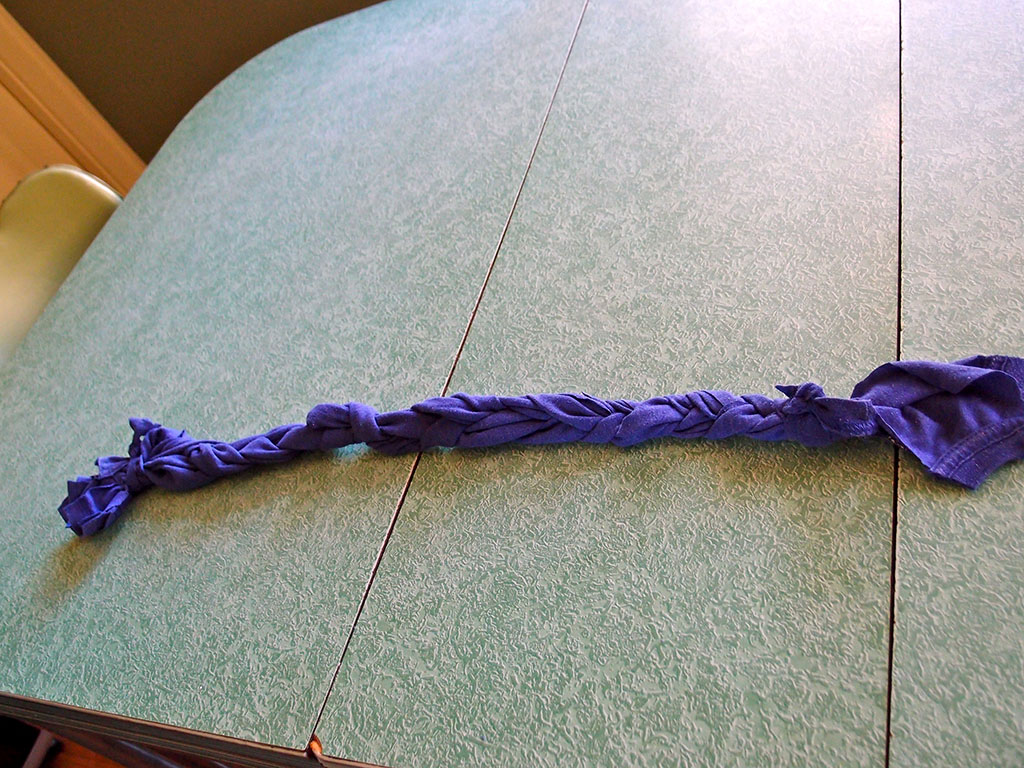
Step nine: To finish the toy off, I hand knotted the middle to add more interest for my boy. I also added a few stitches to the knots on each end to insure that they stayed put!
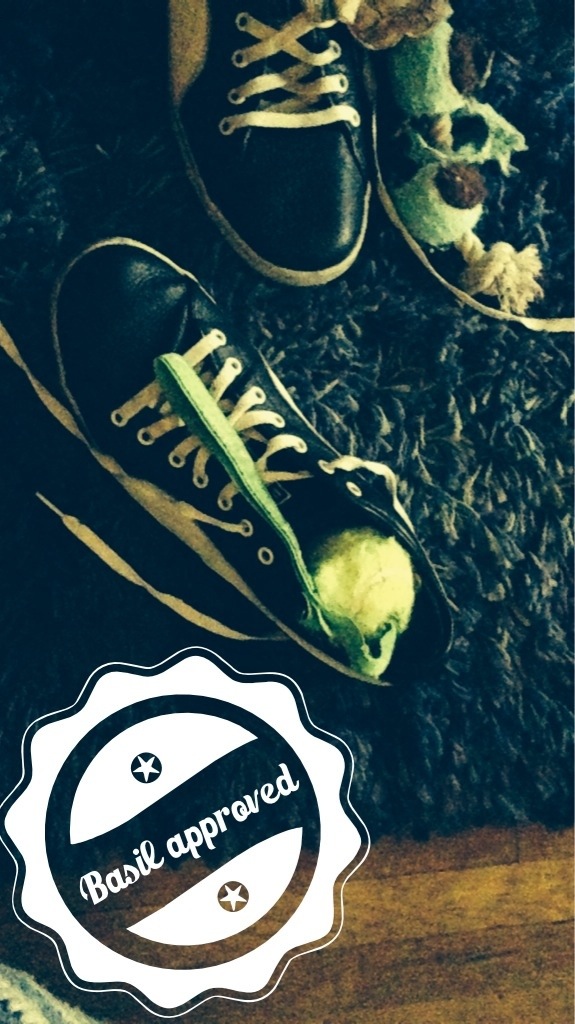
All that was left was to leave the new toy in the toy bin and wait! It wasn’t long before he found it and brought it to me. We played tug-a-war for a while and I tried to get a good picture of him enjoying my handmade toy but that was much harder than expected!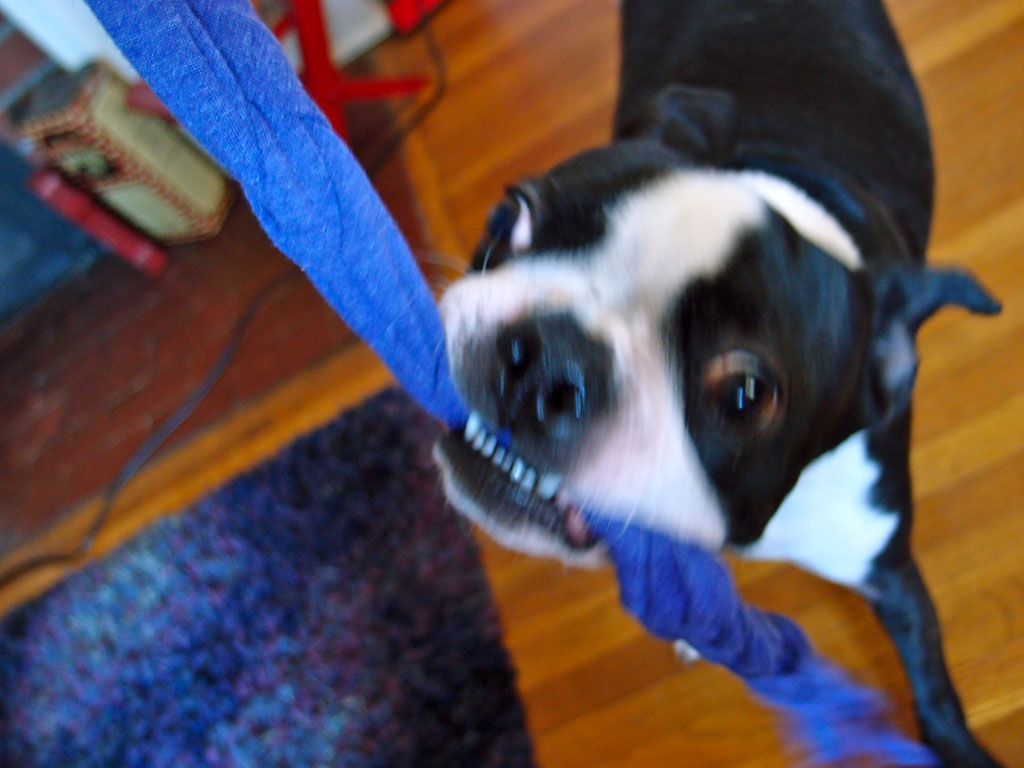 Let me know if you want me to Make it and I’ll give it a try!
Have a happy, creative Monday and we’ll see you tomorrow for Travel Tuesday!
Travel well, nap well, live well!
-Abbey & Basil