Awesome

Game Face! OOTD!

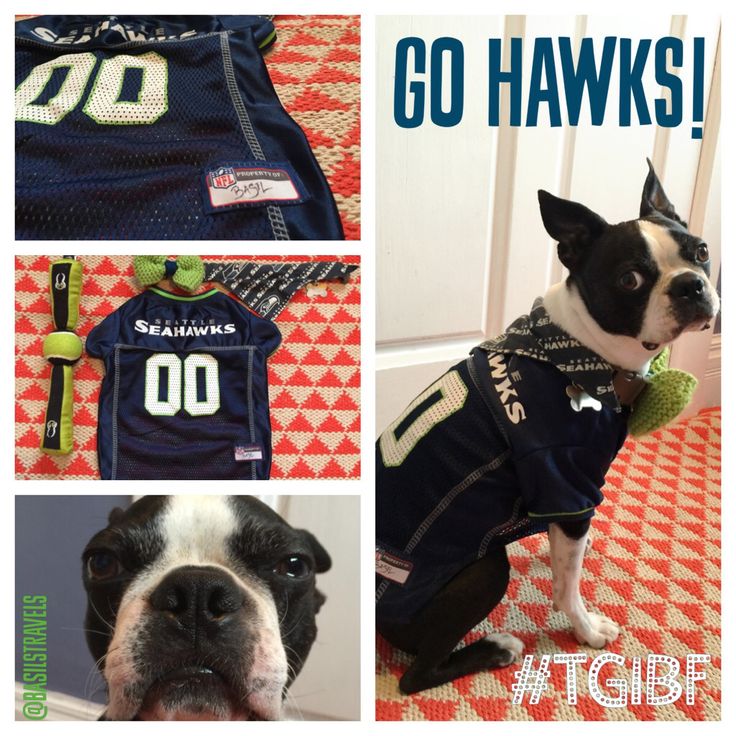
Outfit of the Day!Happy Blue Friday! Today’s outfit is 100% 12th dog! We are looking forward to Monday night to watch our Seahawks win. Check out Basil’s game face!

Blue Friday OOTDNFL Seahawks Pet Jersey $25 | Knit Bow collar bow tie & Seahawks bandana. Similar found on Etsy.com $10 | Hyper Pet Gnarly Gnaws Stick Toy Found at T.J. Maxx $10

Do you enjoy football? What team does you dog root for?

Travel well, nap well, live well!
-Abbey & Basil

(more…)

Be Yourself! OOTD!

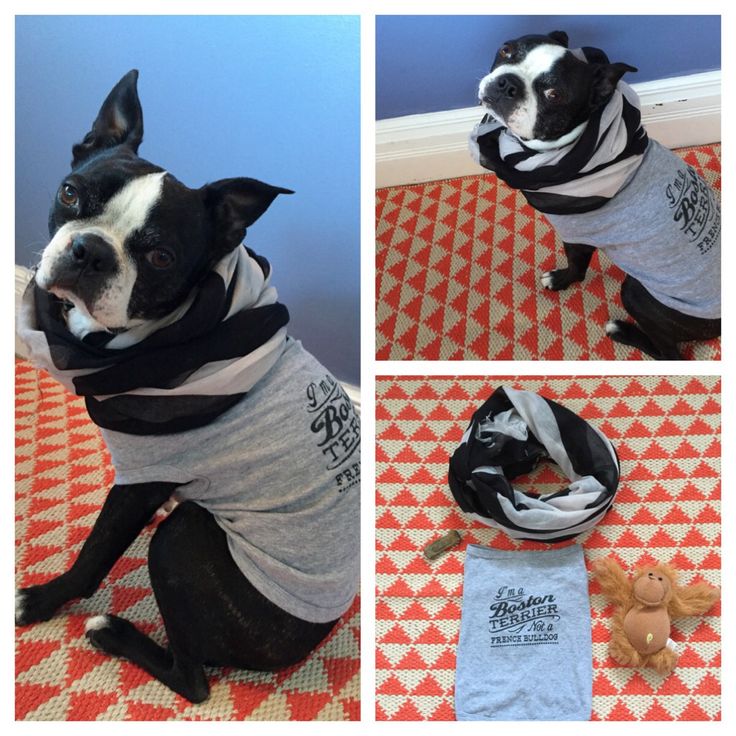
Outfit of the Day!Happy October 1st internet friends! Today is the start of Basil’s Outfit of the Day series. Daily I’ll be posting photos and videos of what Basil is sporting that day. As well as where you can find all these adorable pieces.

Outfit of the day - Be Yourself!

“I’m a Boston terrier not a French Bulldog” Tee shirt Clevotine $15 | Macklemore “The Heist” flag scarf Macklemore & Ryan Lewis shop $30 | Sergeant’s Pet Care Orangutan plush toy Similar found at petco.com $6 | Natural Balance Dental Chews  $17

Check back tomorrow for another adorable outfit.

Travel well, nap well, live well!
-Abbey & Basil

Go take a hike! Snoqualmie Falls!

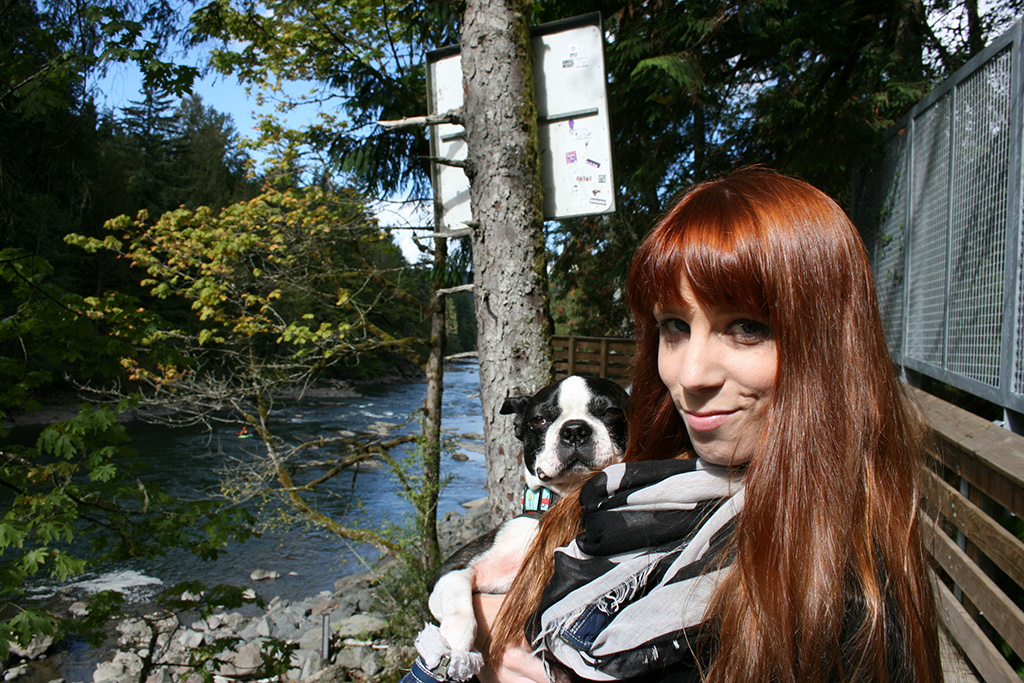
So yesterday was so nice outside we decided to head over to Snoqualmie and check out the falls. If you haven’t been to the Snoqualmie Falls before it is a very large, very beautiful waterfall. The park has many different overlooks, a gift shop, and what feels like every single tourist in Washington state. This is probably why we haven’t been in a while.

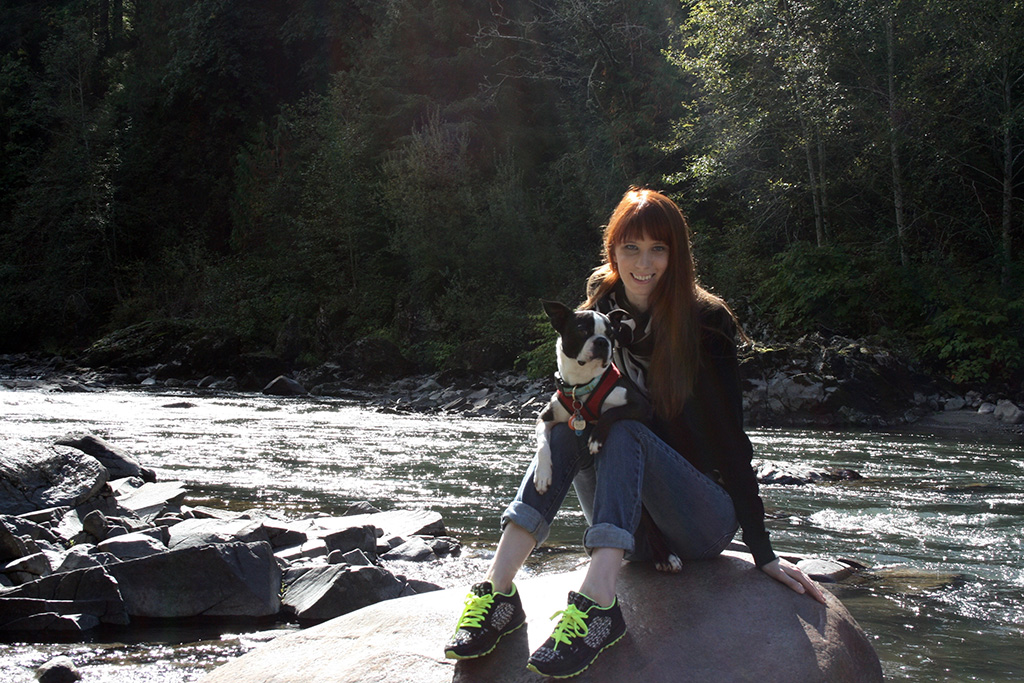
We enjoyed the short hike down to the bottom of the 270 foot falls and even sat on a large stone in the middle of the river.

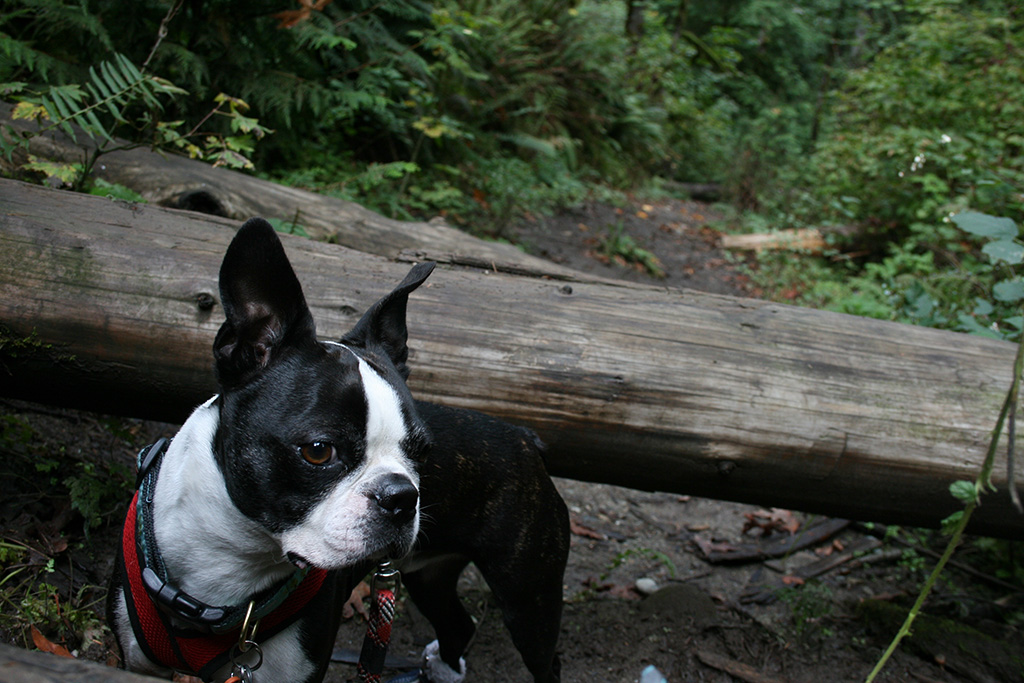
Basil had a great time and “marked” every tree and fern along the trail. It should probably be called Basil’s Falls, from now on. Snoqualmie RiverSnoqualmie FallsBottom of Snoqualmie Falls

"Hey guys, lets go this way!"
“Hey guys, lets go this way!”
Top of the falls. Basil is not impressed.

Don’t let the tourist scare you off. If you get the chance to check out the falls defiantly take it.

Hope everyone is enjoying their weekend. Now on to the most important Sunday item… Football! Go Hawks!

Travel well, nap well, live well!
-Abbey & Basil

P.S. Don’t forget to continue voting for Basil’s 2015 Halloween costume!

What do you think Basil should be for Halloween?

Make it Monday! – DIY Vintage Suitcase Dog Bed

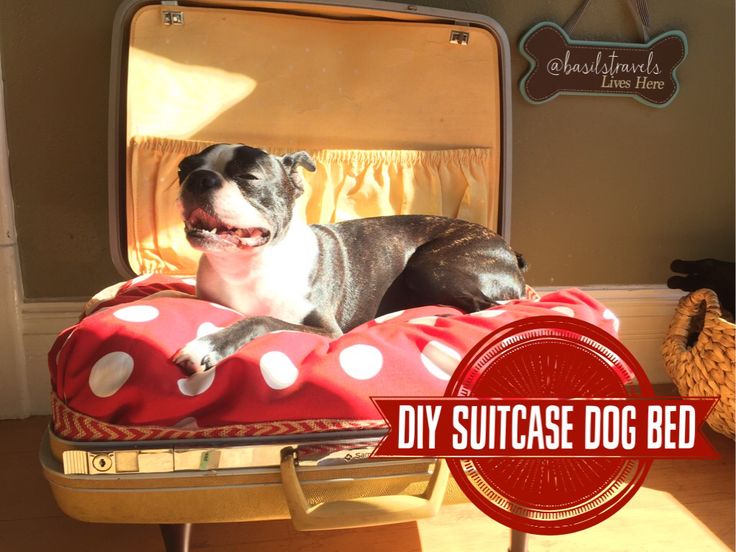
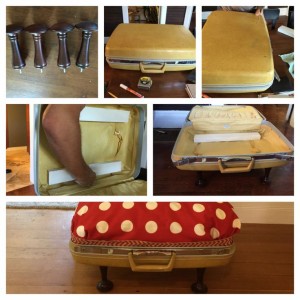
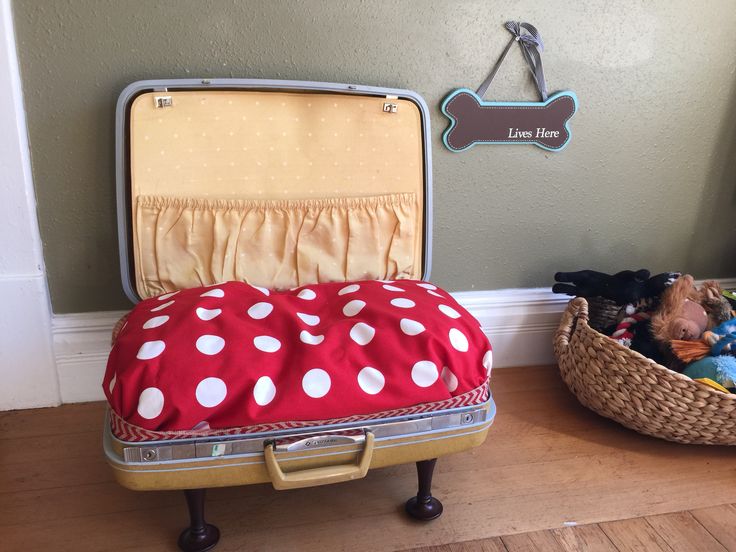
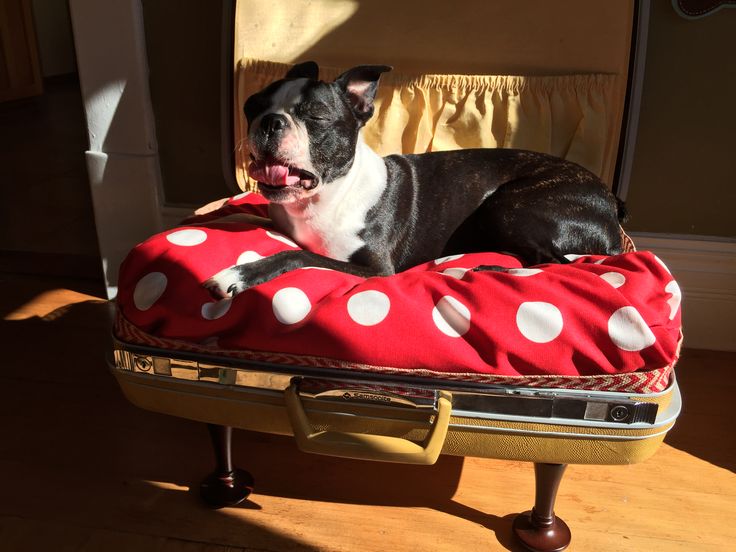
DIY Vintage Suitcase Dog BedThe weekend may be over but don’t let Monday get you down. Lets get creative! Today on Make it Monday! Basil, and I, with the help of my brother in-law Jake, turned a super cute vintage suitcase into a new unique dog bed.

What you need!

  • Hard case suitcase. (I found this yellow Samsonite case at an antique store for $9!)
  • 4 short table legs. (The ones we used were actually banister toppers found at a hardware store. The leg came with hardware already included.)
  • 2 2×4 pieces of wood cut to size.
  • Hot glue gun or sewing machine. (My Sewing machine is currently out of order so I went the glue route and it worked just fine.)
  • 1 yard of fabric
  • 1 or 2 standard size pillows or square thick foam. (I used 1 pillow and a small old quilt for padding.)
  • Drill
  • Optional: Trim
DIY Vintage Suitcase Dog Bed
I told him I wouldn’t photograph his face… I lied! Oops!

Okay so if you are anything like me you probably don’t have a clue how to build things using power tools. The extant of my knowledge is limited to hanging a picture straight on the wall and using an allen wrench to put together my “affordable Swedish crap.” This is where my brother in-law Jake came into the picture. He is a construction work and has every tool under the sun. For the first part of this project, the hard part, putting on the legs, I pretty much just handed him the pieces and said “help me!” In the following pictures if you see hairy forearms, they are not mine!


Part 1: The Hard Part! Attaching the legs!

DIY Vintage Suitcase Dog BedStep 1: Mark where you want to position the legs and drill holes.
Step 2: Attach the wood beams to the inside of the suitcase. These are going to act as the anchor for the legs. Make sure to position them over where you drilled the holes.
Step 3: Screw in the legs, with the already attached hardware, through the drilled holes and into the wood beams.


Part 2: The Fun Part!

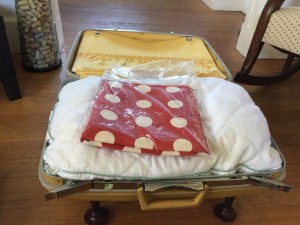
DIY Vintage Suitcase Dog BedDIY Vintage Suitcase Dog Bed Step 1: Find a cute fabric to match your case.
Step 2: Use fabric is cover your pillow/foam padding. Make a pillow case using your sewing machine or hot glue gun. FYI, they make fabric glue for your hot glue gun! It’s washable! (I’m not going to show you how to make a pillow case. Thats not fun. If you really don’t know, there is this magical thing called Google that will help you out.
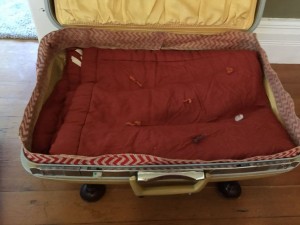
Step 3: Attach your trim, if you so choose. I liked how it looked with the trim so I went for it. I used a chevon red burlap ribbon that I found at the craft store. I used my hot glue gun to glue it around the inside of the whole case.
Step 4: Insert padding and pillows!

Done!!

DIY Vintage Suitcase Dog BedDIY Vintage Suitcase Dog BedI put the adorable new bed in Basil’s new “dog cave” and he and our cats love it! The best part is now I have a dog bed that doesn’t look like a gross ugly dog bed!

Thanks to HGTV for the idea. If you want to see how they did it, its a little different, check it out here.

Let me know if you make this project. I would love to see your pictures!

Until next time friends! Xoxo

Travel well, nap well, live well!
-Abbey & Basil

This is the Droid you’re looking for!

With the new Star Wars: The Force Awakens movie opening this Christmas and the release of the toys happening today (!!!!) everyone is talking about Star Wars. The most popular toy so far is the BB-8 droid. It’s an app controlled robot that will patrol your home and maybe confuse your pets. It’s pretty cool!

Check out this awesome video, thanks to Vanity Fair, of a group of puppies being introduced to the BB-8. If this doesn’t convince my husband to splurge (Only $149.99!) and just order one, I don’t know what will!

Travel well, nap well, live well!
-Abbey & Basil

Ps. Hope everyone has a fun and safe Labor Day weekend! Xoxo

Two Years Already?!

Happy Saturday friends! Today marks the 2 year anniversary of Basil’s Travels! We couldn’t be happier from all the love and support you have given us these last couple years. We have gone on so many adventures and can’t wait for all the ones to come.

Thanks again! Here is to many more! Cheers!

Happy anniversary Basil!

Travel well, nap well, live well!
-Abbey & Basil

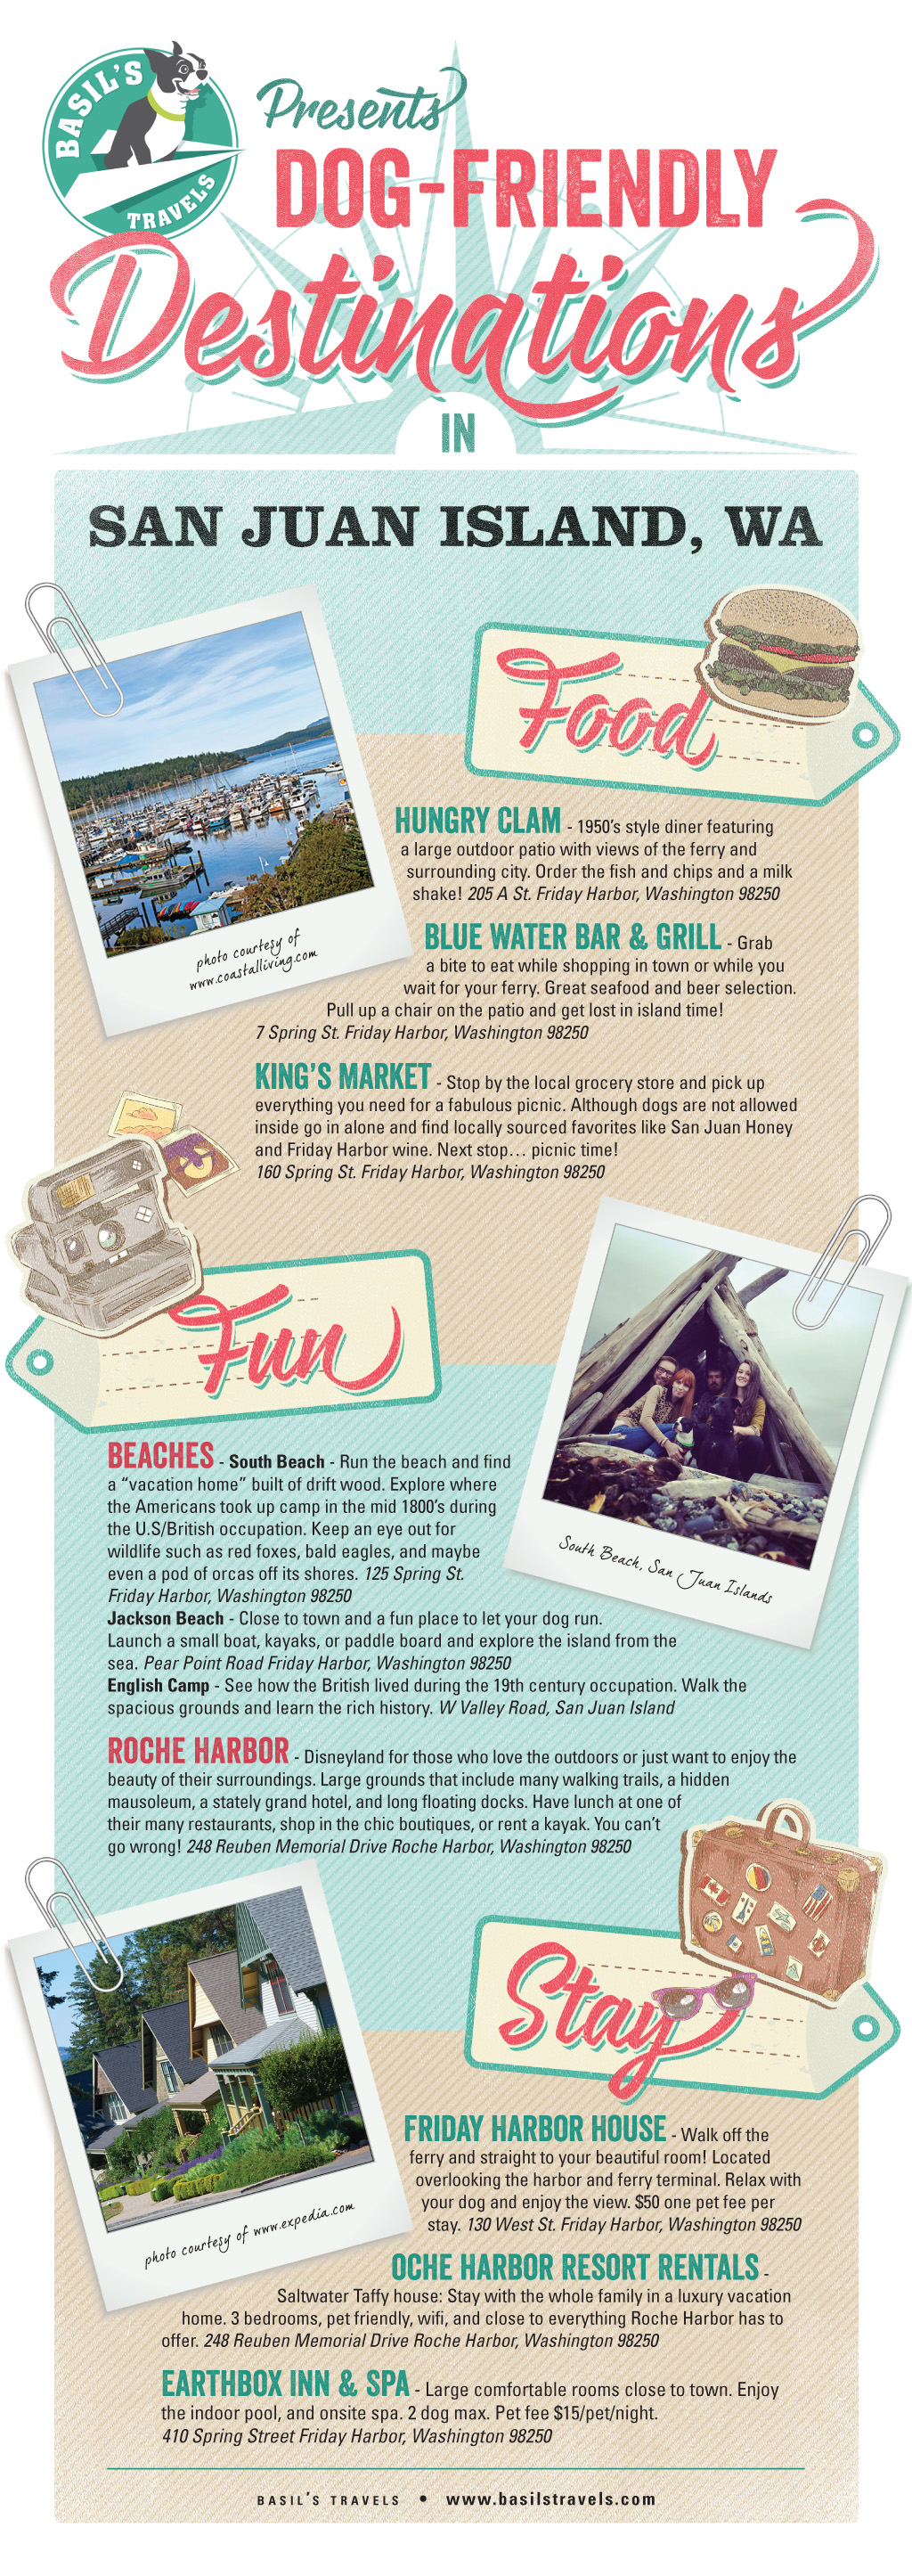
Basil Presents Dog Friendly Destinations – San Juan Island, WA!

Hello Travel Tuesday friends! As many of you know we spent last weekend up on San Juan island visiting my grandmother and showing around some friends. It was an amazing time and we are so glad that we were all able to go and enjoy ourselves.

Todays Basil Presents DFD check out where we like to hang out when we are on this incredible island. If you get a chance to explore San Juan island or any of the other San Juan islands, like Shaw or Orcas, let us know. I would love to hear of all your favorite places!

Infographic San Juan Island Dog FriendlyWhere should we travel next? We have a few trips in the works but would love to hear your ideas!

Travel well, nap well, live well!
-Abbey & Basil


Happy puppies turn into happy dogs!

It’s throwback Thursday so enjoy this photo from when Basil met a 9 week old chocolate lab puppy. Circa April 2015 Sycamore Brewing company.    Hope your week is going well! Also, Basil would like to say happy birthday to his uncle  Jake.

Until next time. Xoxo

Travel well, nap well, live well!
-Abbey & Basil

Who wants to pat the tummy?!

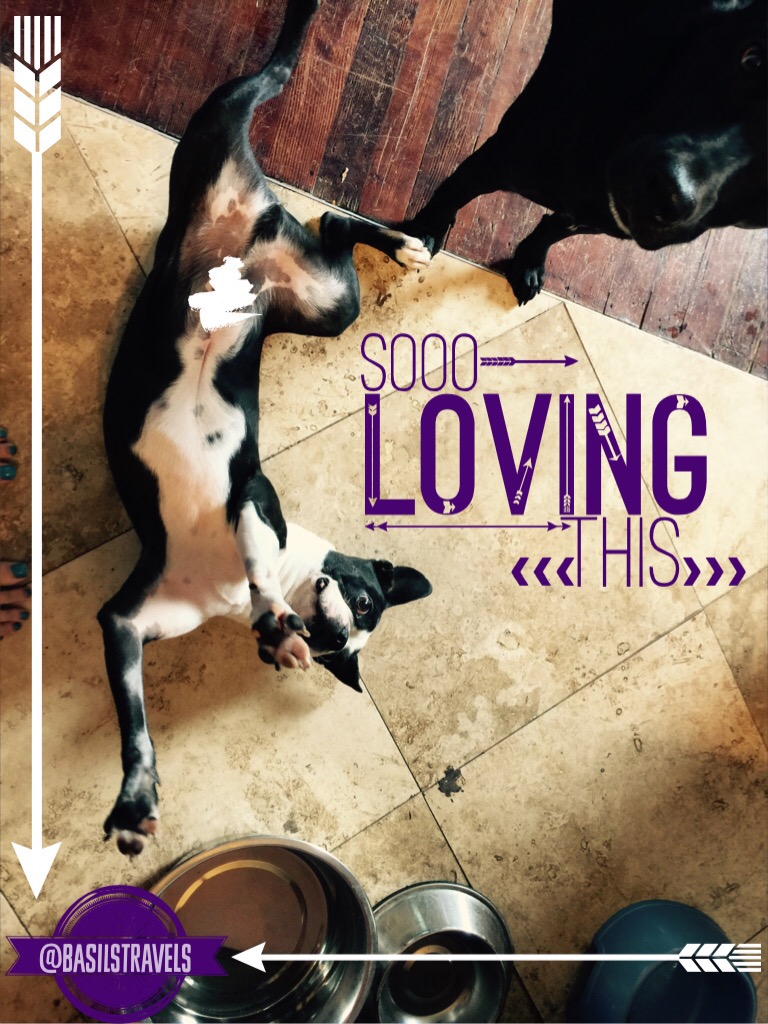
 The line starts here.  Happy wordless Wednesday internet friends!

Basil is currently hiring for a full time belly rub specialist. The annual salary is paid in puppy kisses and toots to the face. Inquire below.

Hope everyone is enjoying their week so far. More fun travels, and adventures are happening soon so make sure to check back daily.

Until next time! Xoxo

Travel well, nap well, live well!
-Abbey & Basil

(more…)

Re-Make it Monday! DIY Dog Bow Ties!

Its Monday and life is crazy! ICYMI Check out this Make it Monday! post for DIY Dog Bow Ties. I’ll be back next Monday with a new MIM so let me know what you want me to make. 


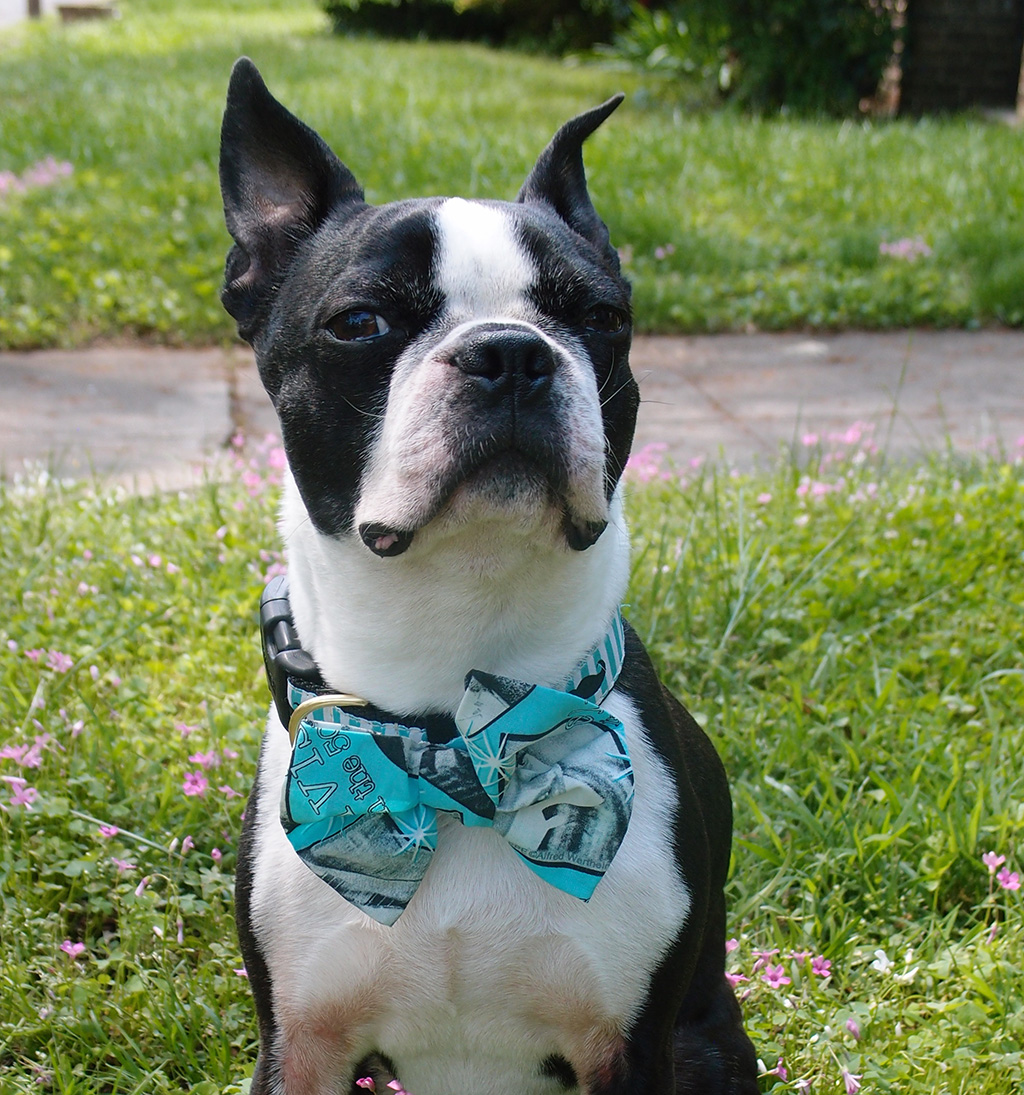
Happy Monday friends! For years Basil, being the 1st class hipster that he is, has been wearing bow ties. And for almost that same amount of time I have been purchasing him those bow ties. Okay so the cost isn’t that much each time, 1 bow tie retails for about $10-$20 but in the long run, that cost really adds up! So after buying Basil’s 20th bow tie (I know, I’m crazy!!) I figured I could make these, so I did!

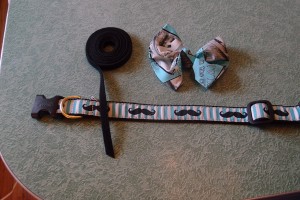
Below you will find my simple DIY No Sew bow tie tutorial. Hopefully it works for you and your dog can look like a gentleman without breaking the bank! DIY No Sew Bow Tie Tutorial DIY No Sew Bow Tie Tutorial Step 1Step 1: There is a few things you’ll need!
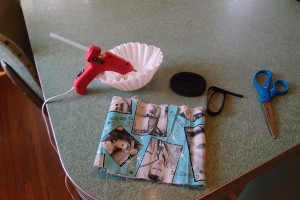
• Large flat work area
• Hot glue gun
• Double sided Velcro
• Sharp scissors for cutting fabric
• Fabric
• Optional: elastic

The great thing about this project is most people have a lot of these craft supplies already in the their home. If you need anything on this list all of it can be found at your local craft store. I highly recommend using double-sided Velcro and it can be a little tricky to find. I ordered mine online(http://www.etsy.com) at a great deal. I also use a standard hot glue gun on the high setting. For my fabric, I found an amazing deal in the remnant fabric bin at Hobby Lobby. It was 1/8th a yard and only .59 cents! Also, I couldn’t pass up the Elvis in the 50’s pattern!
DIY No Sew Bow Tie Tutorial

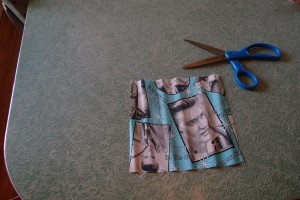
Step 2: Cut out a square!

The size I picked was about 6 inches by 6 inches. This bow tie is going to be a little large for a medium size (20 lb.) dog but that how I like it. If you want a smaller tie make the square smaller. DIY No Sew Bow Tie Tutorial Step 3
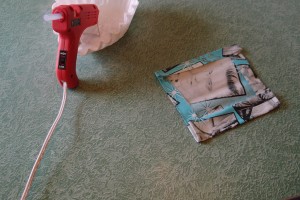
Step 3: Flip square over and glue edges down!

It doesn’t have to be perfect! I glued the “hot dog” sides first and then the “hamburger” sides. You really just want to make clean edges for the front of the bow tie. DIY No Sew Bow Tie Tutorial Step 4
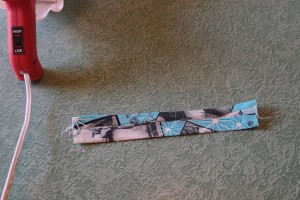
Step 4: Cut a small rectangular piece for the center of the tie!

I cut a 2×6 inch piece of fabric. Make sure the length is 3 times the size of the width. I flipped the fabric over and glued the edges down like I did with the first piece of fabric. DIY No Sew Bow Tie Tutorial Step 5
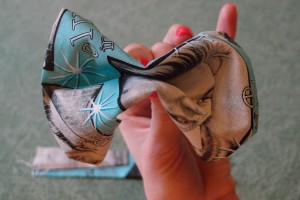
Step 5: Pinch to make your bow tie shape!

Pinch the large square that you created, from the back, to make the bow tie shape that looks best to you. When I did this it made Elvis’s face a little weird.DIY No Sew Bow Tie Tutorial Step 6
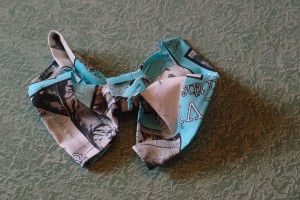
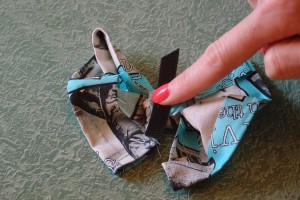
Step 6: Tie the long rectangular piece around the pinched square. Knot in the back!
Make sure the fabric is laying flat on the front. Knot fabric in the back and glue flaps down. This is also a great time to glue down what doesn’t look right!
DIY No Sew Bow Tie Tutorial Step 7DIY No Sew Bow Tie Tutorial Step 7

Step 7: Measure & Attach Velcro!

I grabbed one of Basil’s everyday dog collars and placed the double sided Velcro on top to see how much I needed. For a 1 inch collar I recommend at least 2 inches of Velcro.

I cut the Velcro and glued the strip on to the center, back of the bow tie. Make sure to place the glue on the soft side of the Velcro! This way the Velcro teeth can grab onto the collar as well as the other side of the strip. If you prefer to use elastic you can glue a loop of elastic band in the same spot.DIY No Sew Bow Tie Tutorial Step 8
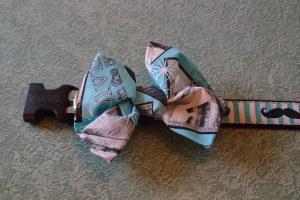
Step 8: Attach to collar and look awesome!

Wrap the Velcro around the collar in your preferred area. Think about how the collar is going to hang and sit once on your pet.
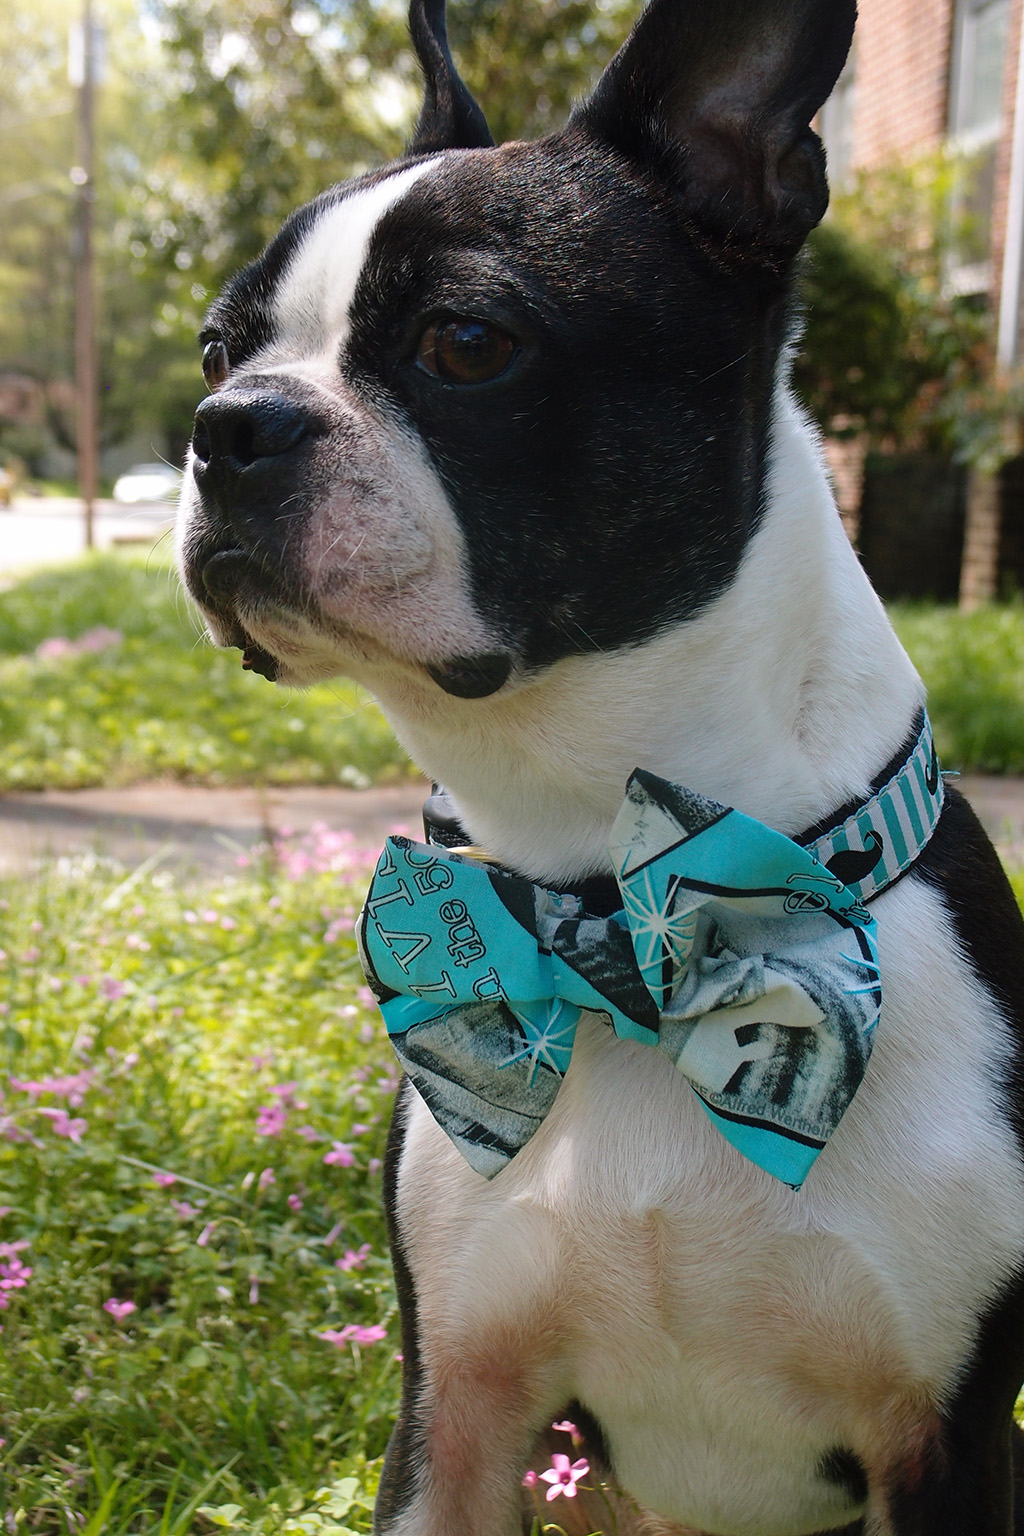
DIY No Sew Bow Tie Tutorial Look how cute he is! This bow tie is cute, easy, and lightweight. I hope you enjoyed this tutorial. Show me your pictures of your creations!

Tomorrow is Travel Tuesday and the featured city is San Antonio, Texas! So make sure to check back then!

Travel well, nap well, live well!
-Abbey & Basil

1 2 3 4 5